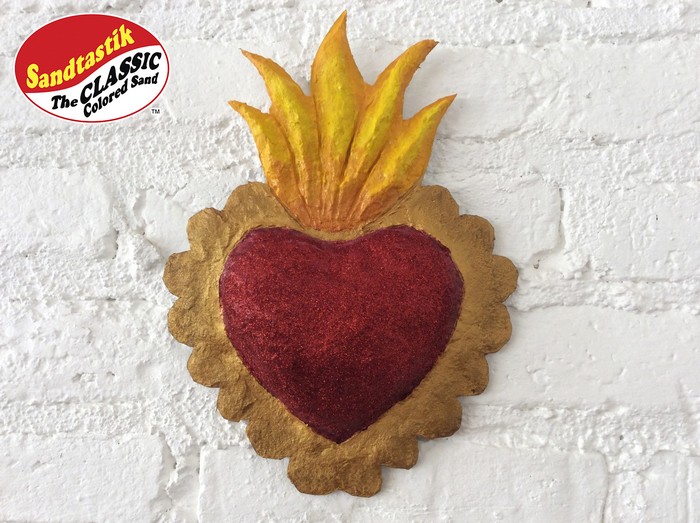
Summary:
Mexican folk art adds bright and beautiful charm to your home surroundings! Easily create this stunning sacred heart with Sandtastik’s FastMache and Activ-Wire mesh! The FastMache sets up quickly and the Activ-Wire mesh brings dimensional details to life! When combined these two create the perfect solution for all your custom wall art needs!
What’s Needed:
- FastMache
- Activ-Wire Mesh
- Cardboard
- Hot Glue
- Hot Glue Finger Guard
- Hobby Knife & Cutting Mat
- Popsicle Sticks
- Pencil
- Tin Snips
- Water
- Measuring Cup
- Mixing Bowl
- Craft Paint
- Sanding Block
- Glitter
- School Glue
- Paint Brushes
- Wire
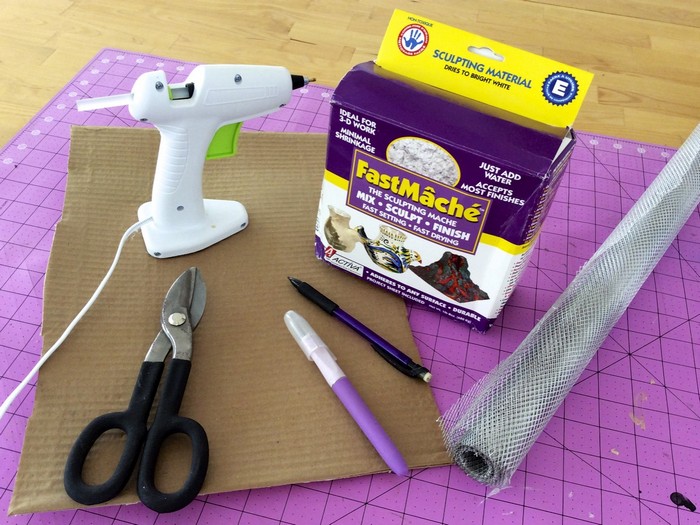
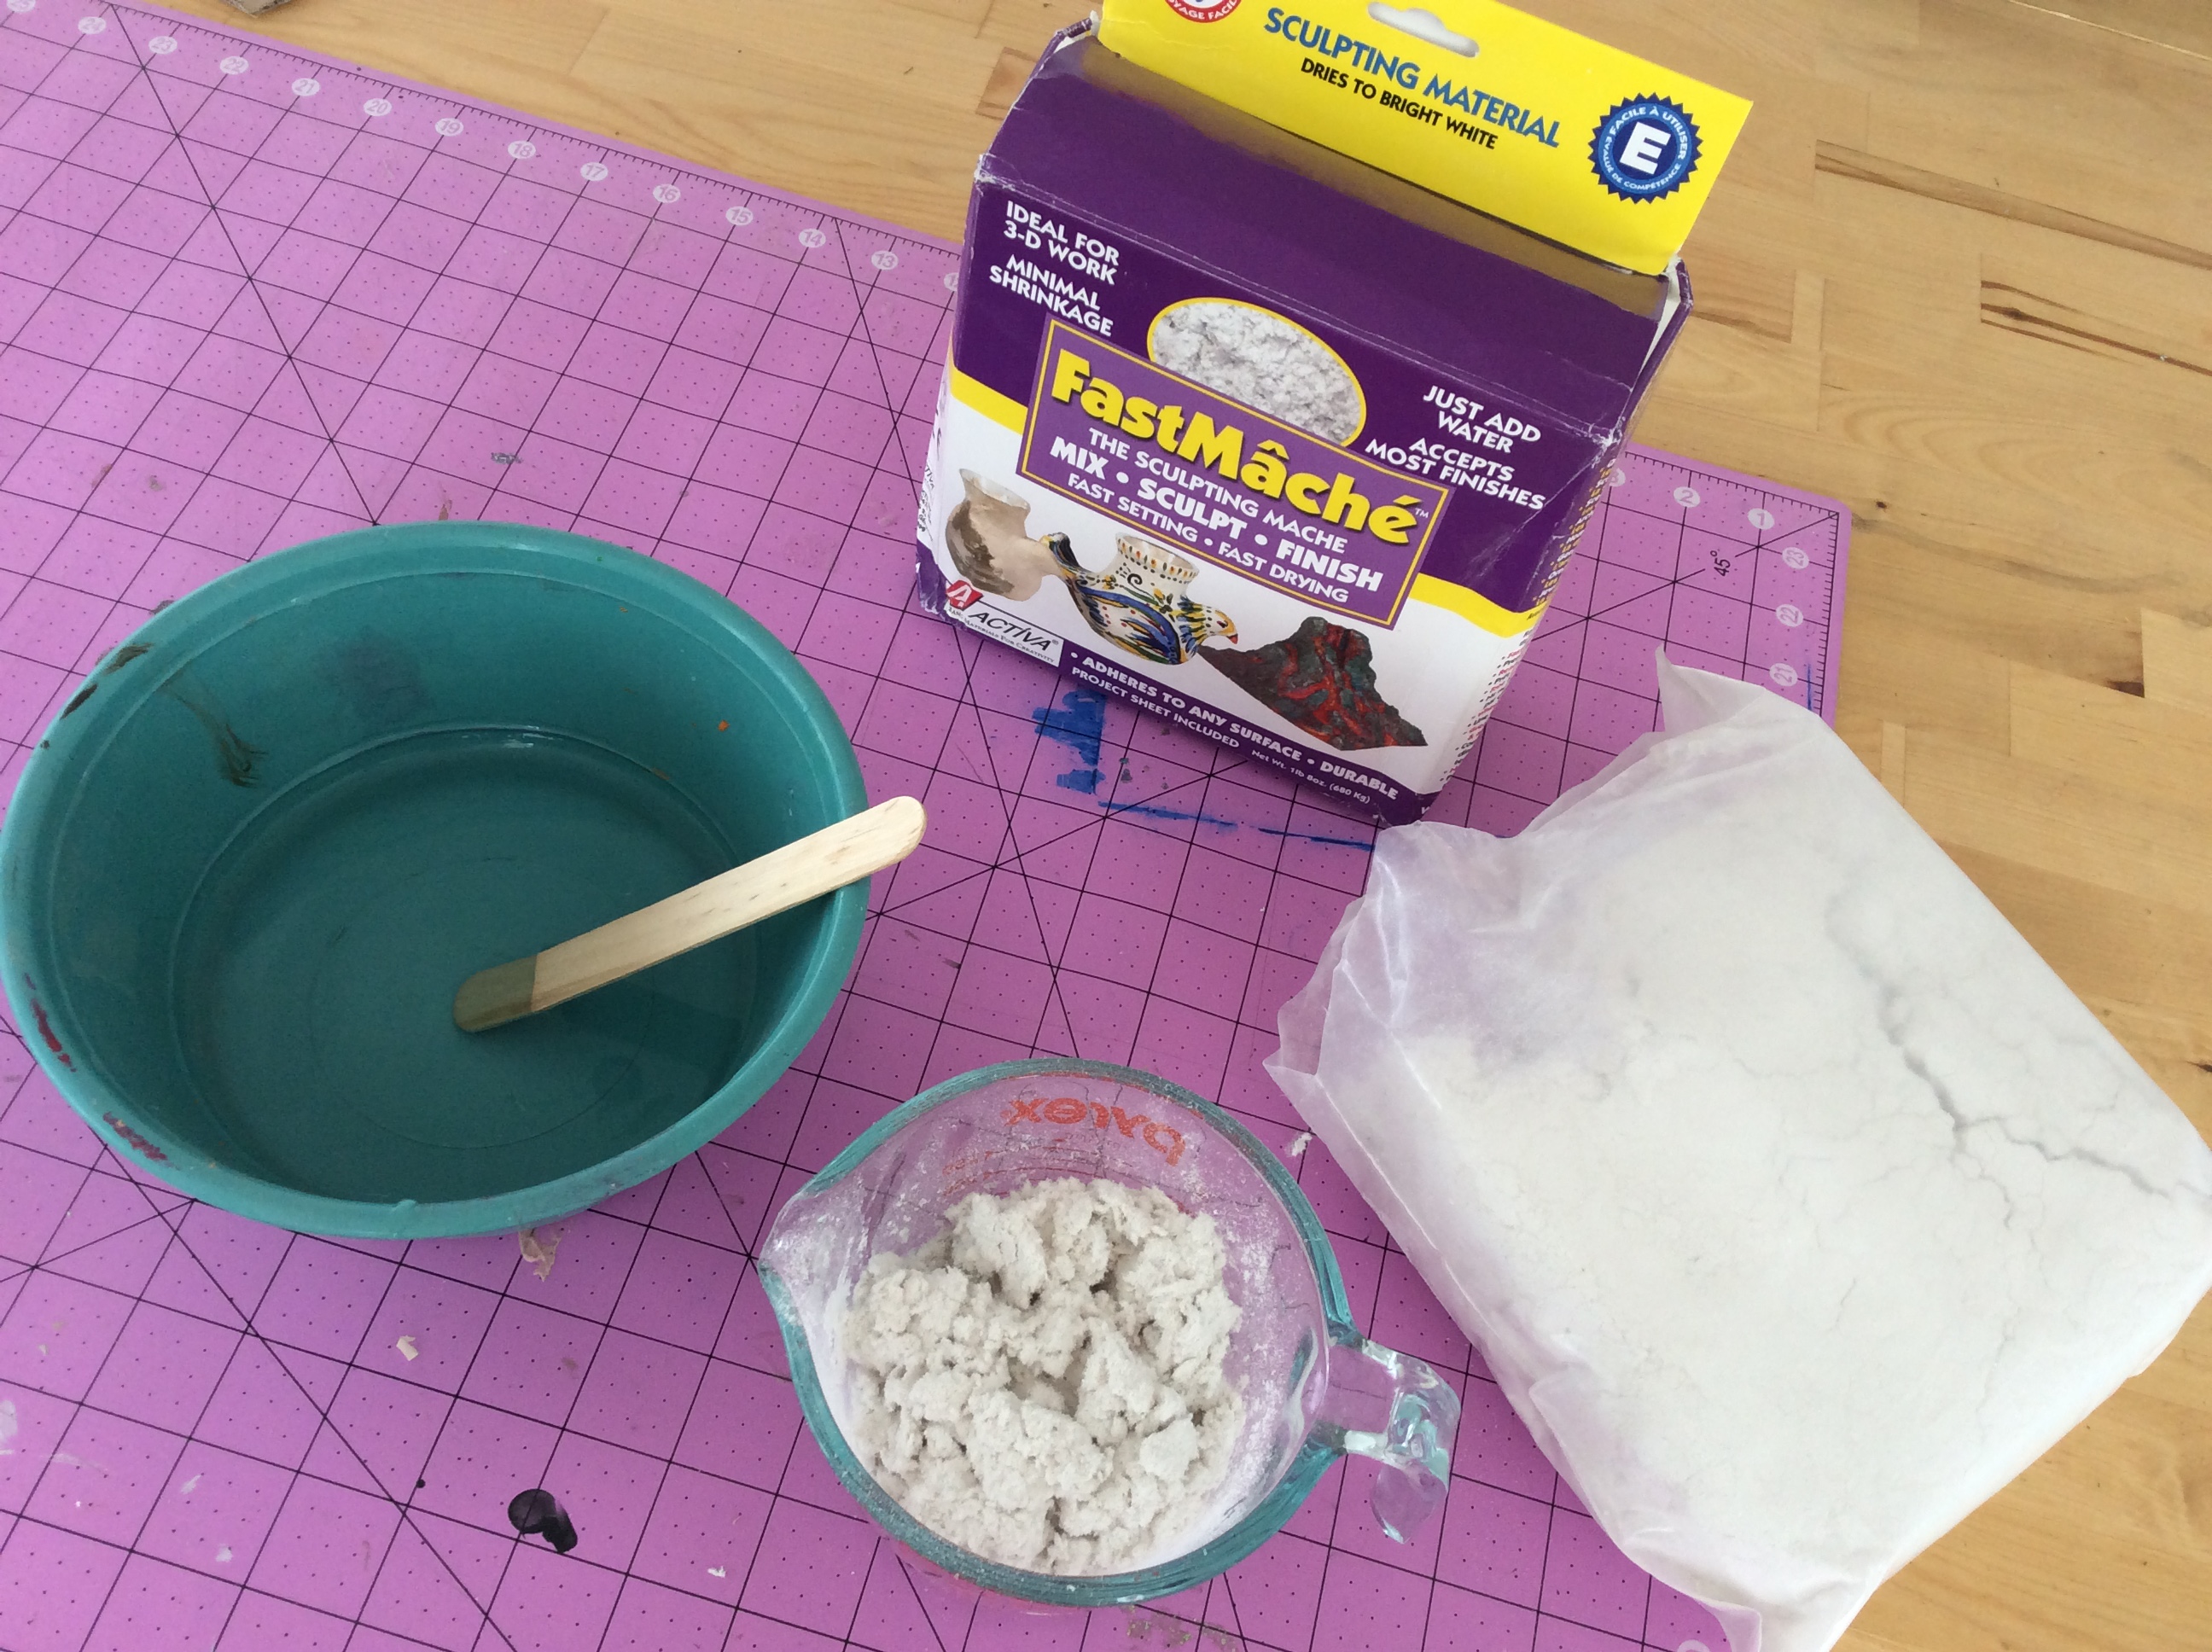
To begin making the base for your sacred heart, gather up the supplies as shown.
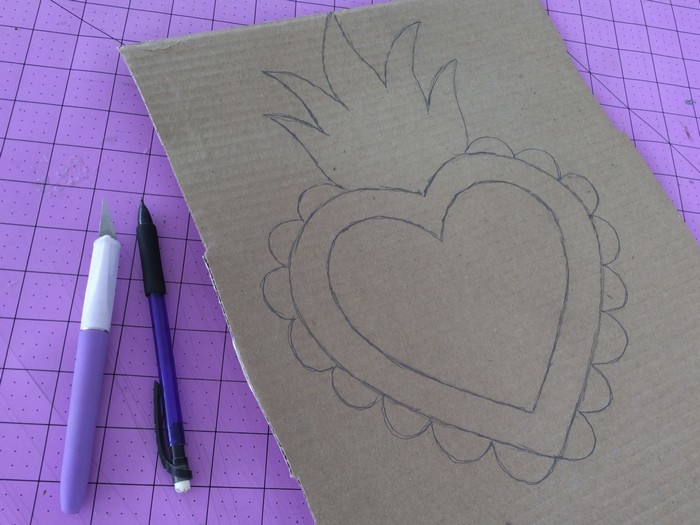
Sketch out your design onto the cardboard with a pencil.
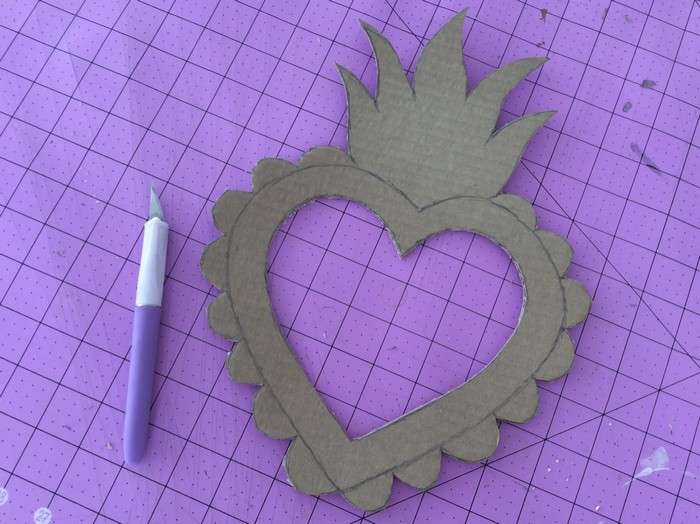
Carefully cut the center portion out with a hobby knife, being sure to work atop a cutting mat.
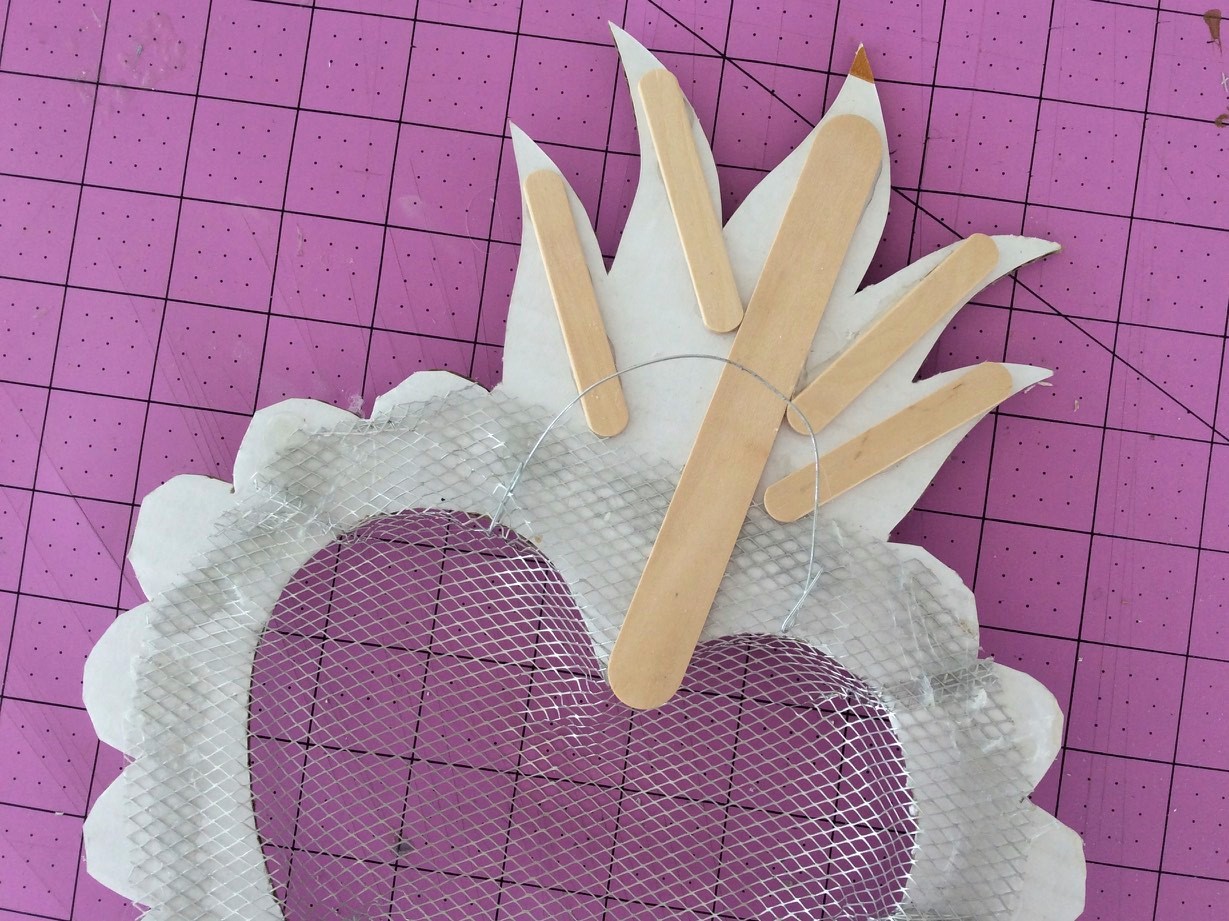
With the tin snips, cut a portion of Activ-Wire mesh that is slightly larger than the hole.
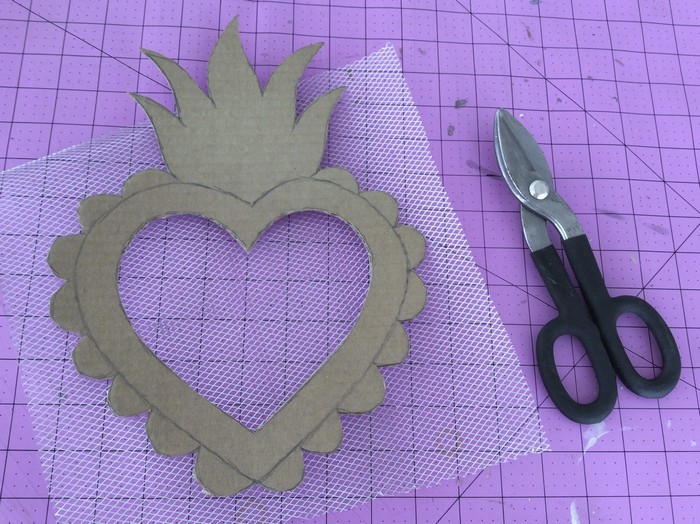
Push the Activ-Wire mesh through the hole, forming it with your hands into a rounded mound.
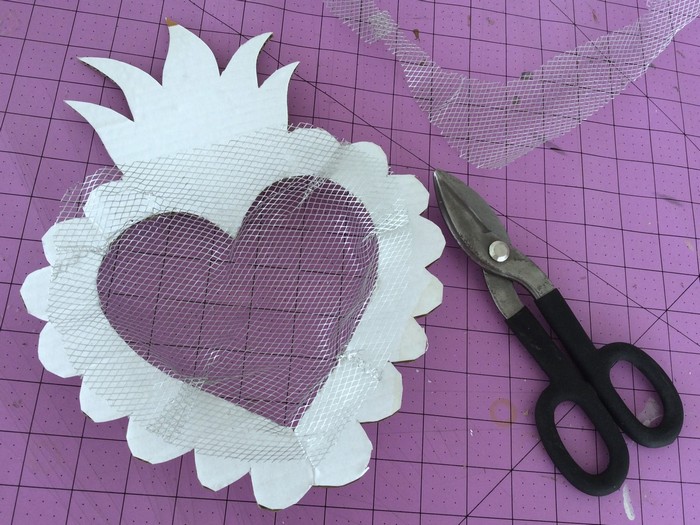
Flatten the excess on the back and secure in place with hot glue. Use a finger guard to smooth the hot glue and secure the Active-Wire mesh in place. Then trim away any excess mesh with the tin snips.
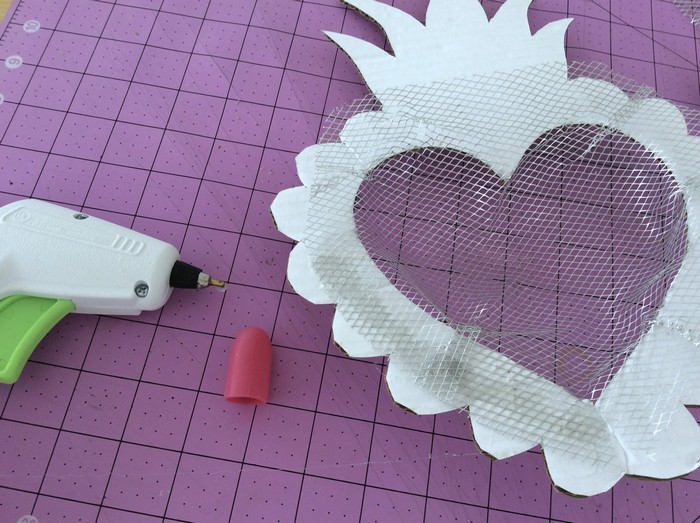

Attach popsicle sticks to the back of the piece with hot glue. This will help to prevent warping and give the piece a good strong structure. Add a piece of wire to the back for hanging.
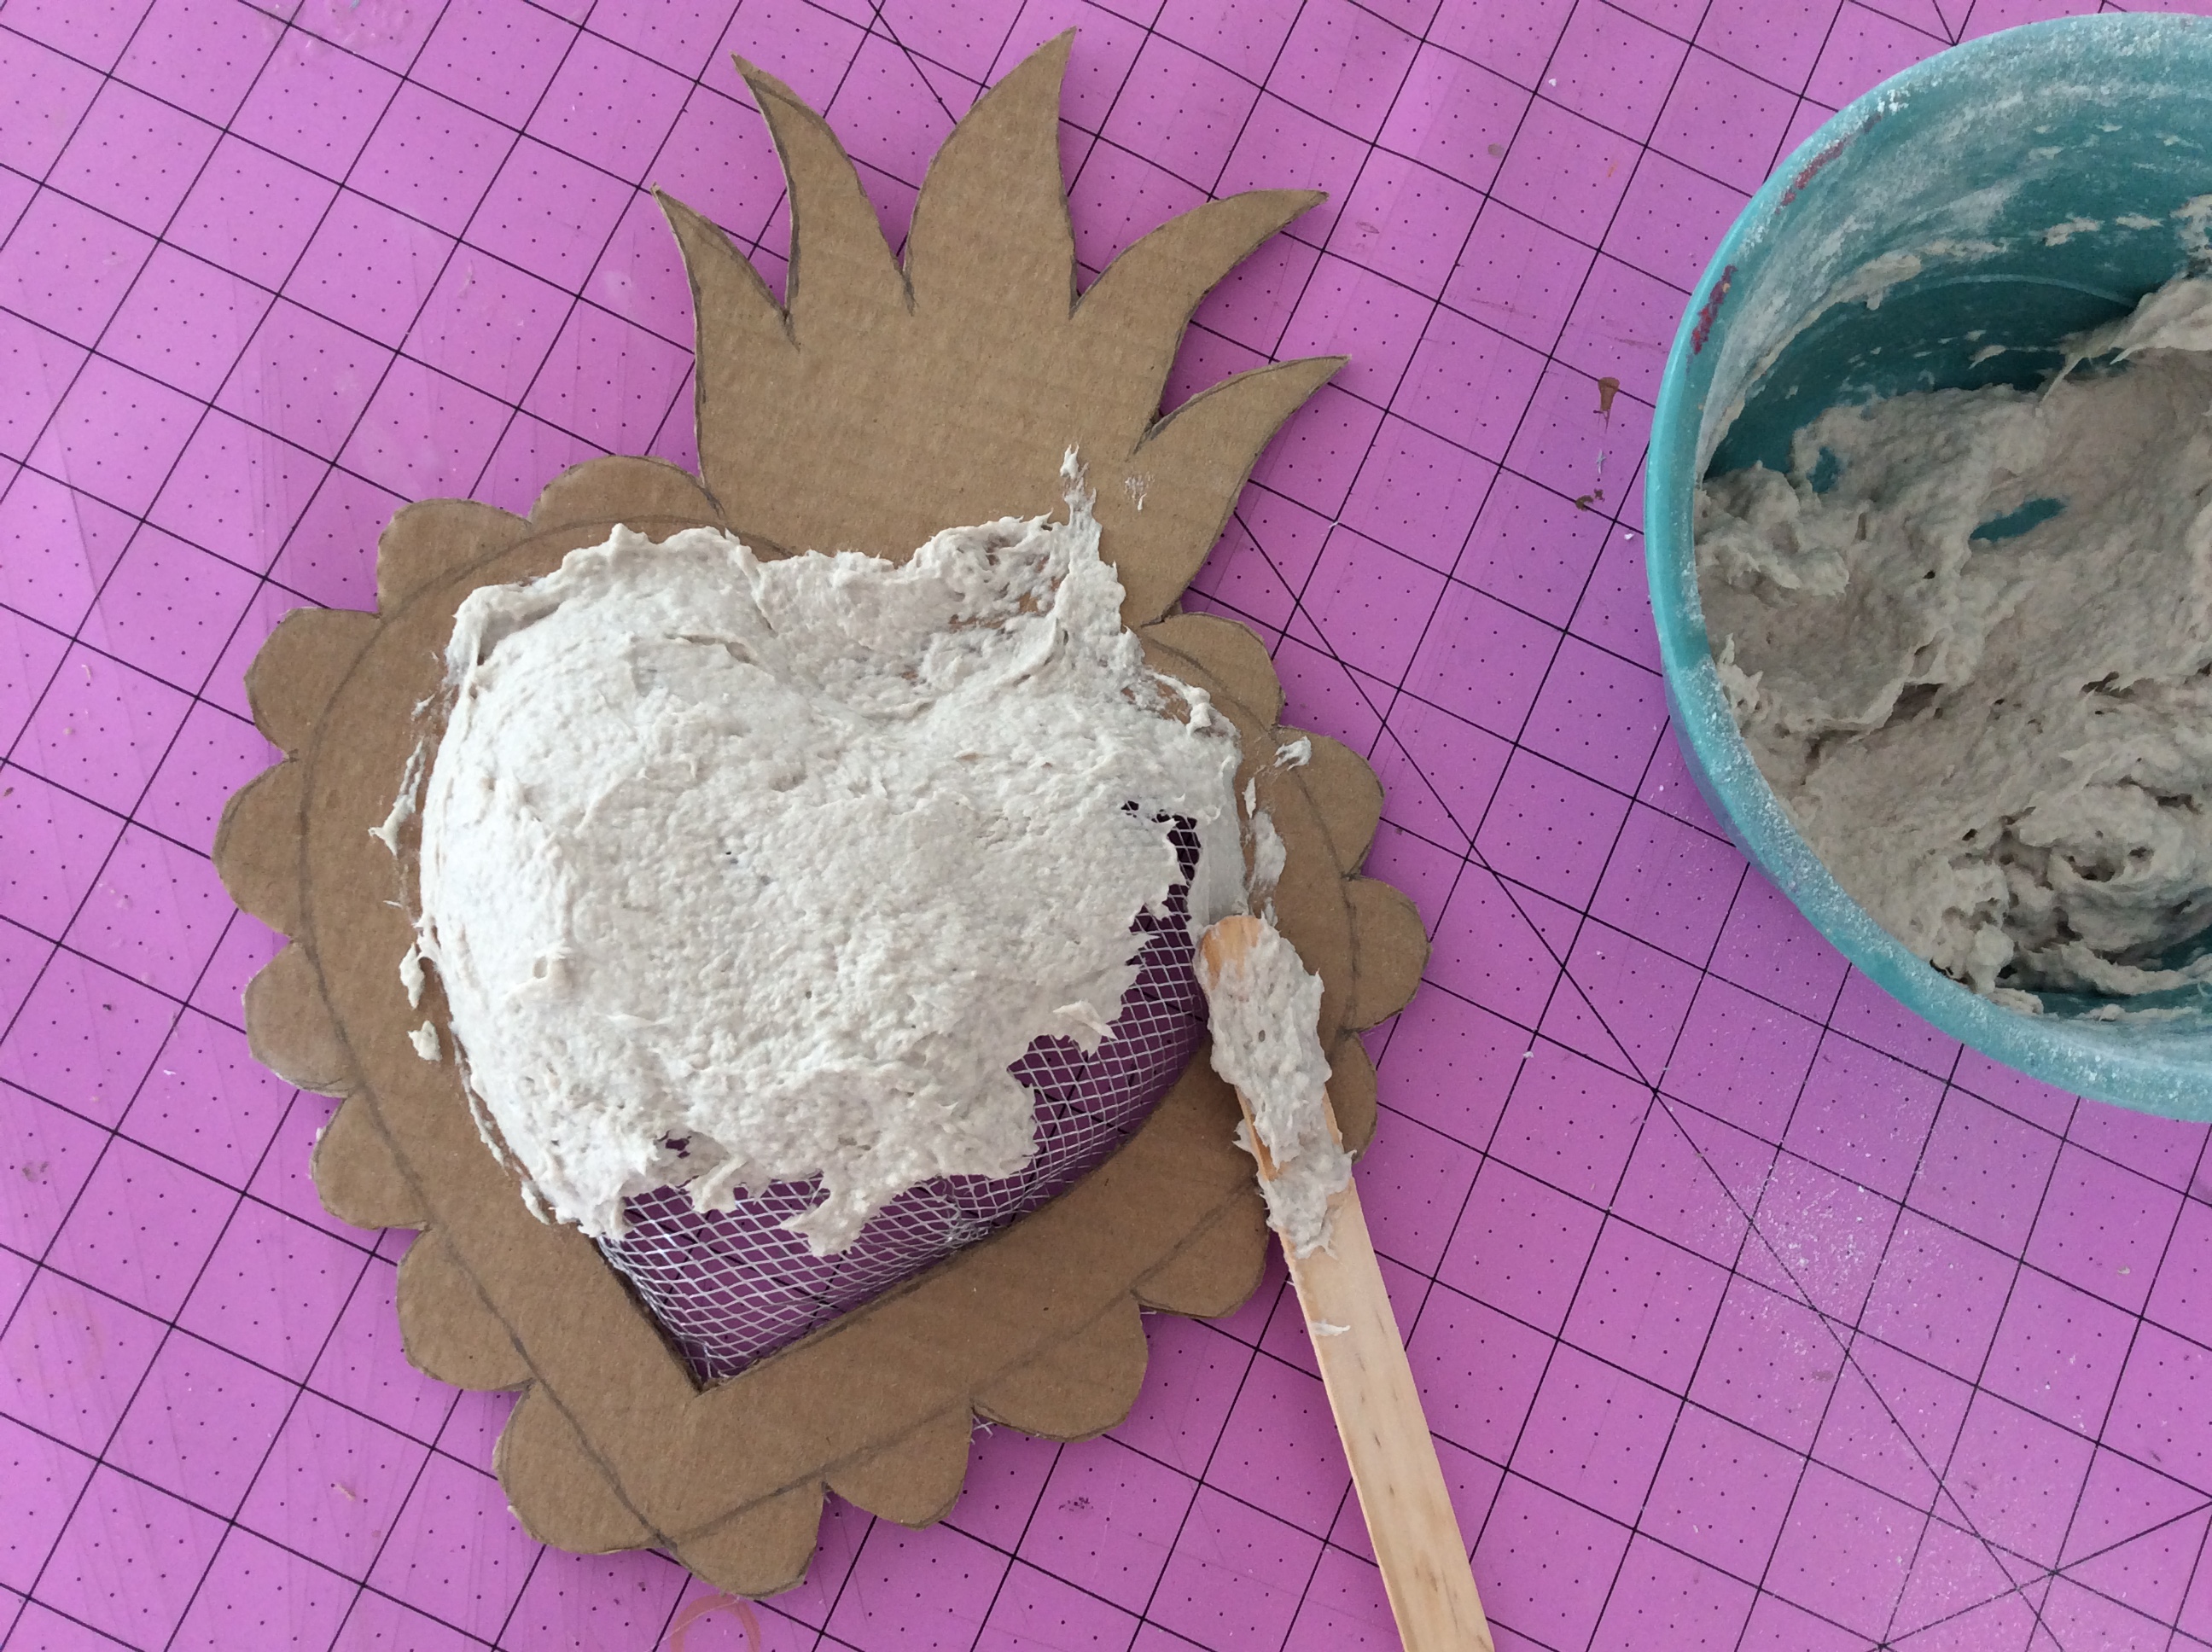
Now you are ready to mix up your FastMache. Put one cup of warm water in a bowl.
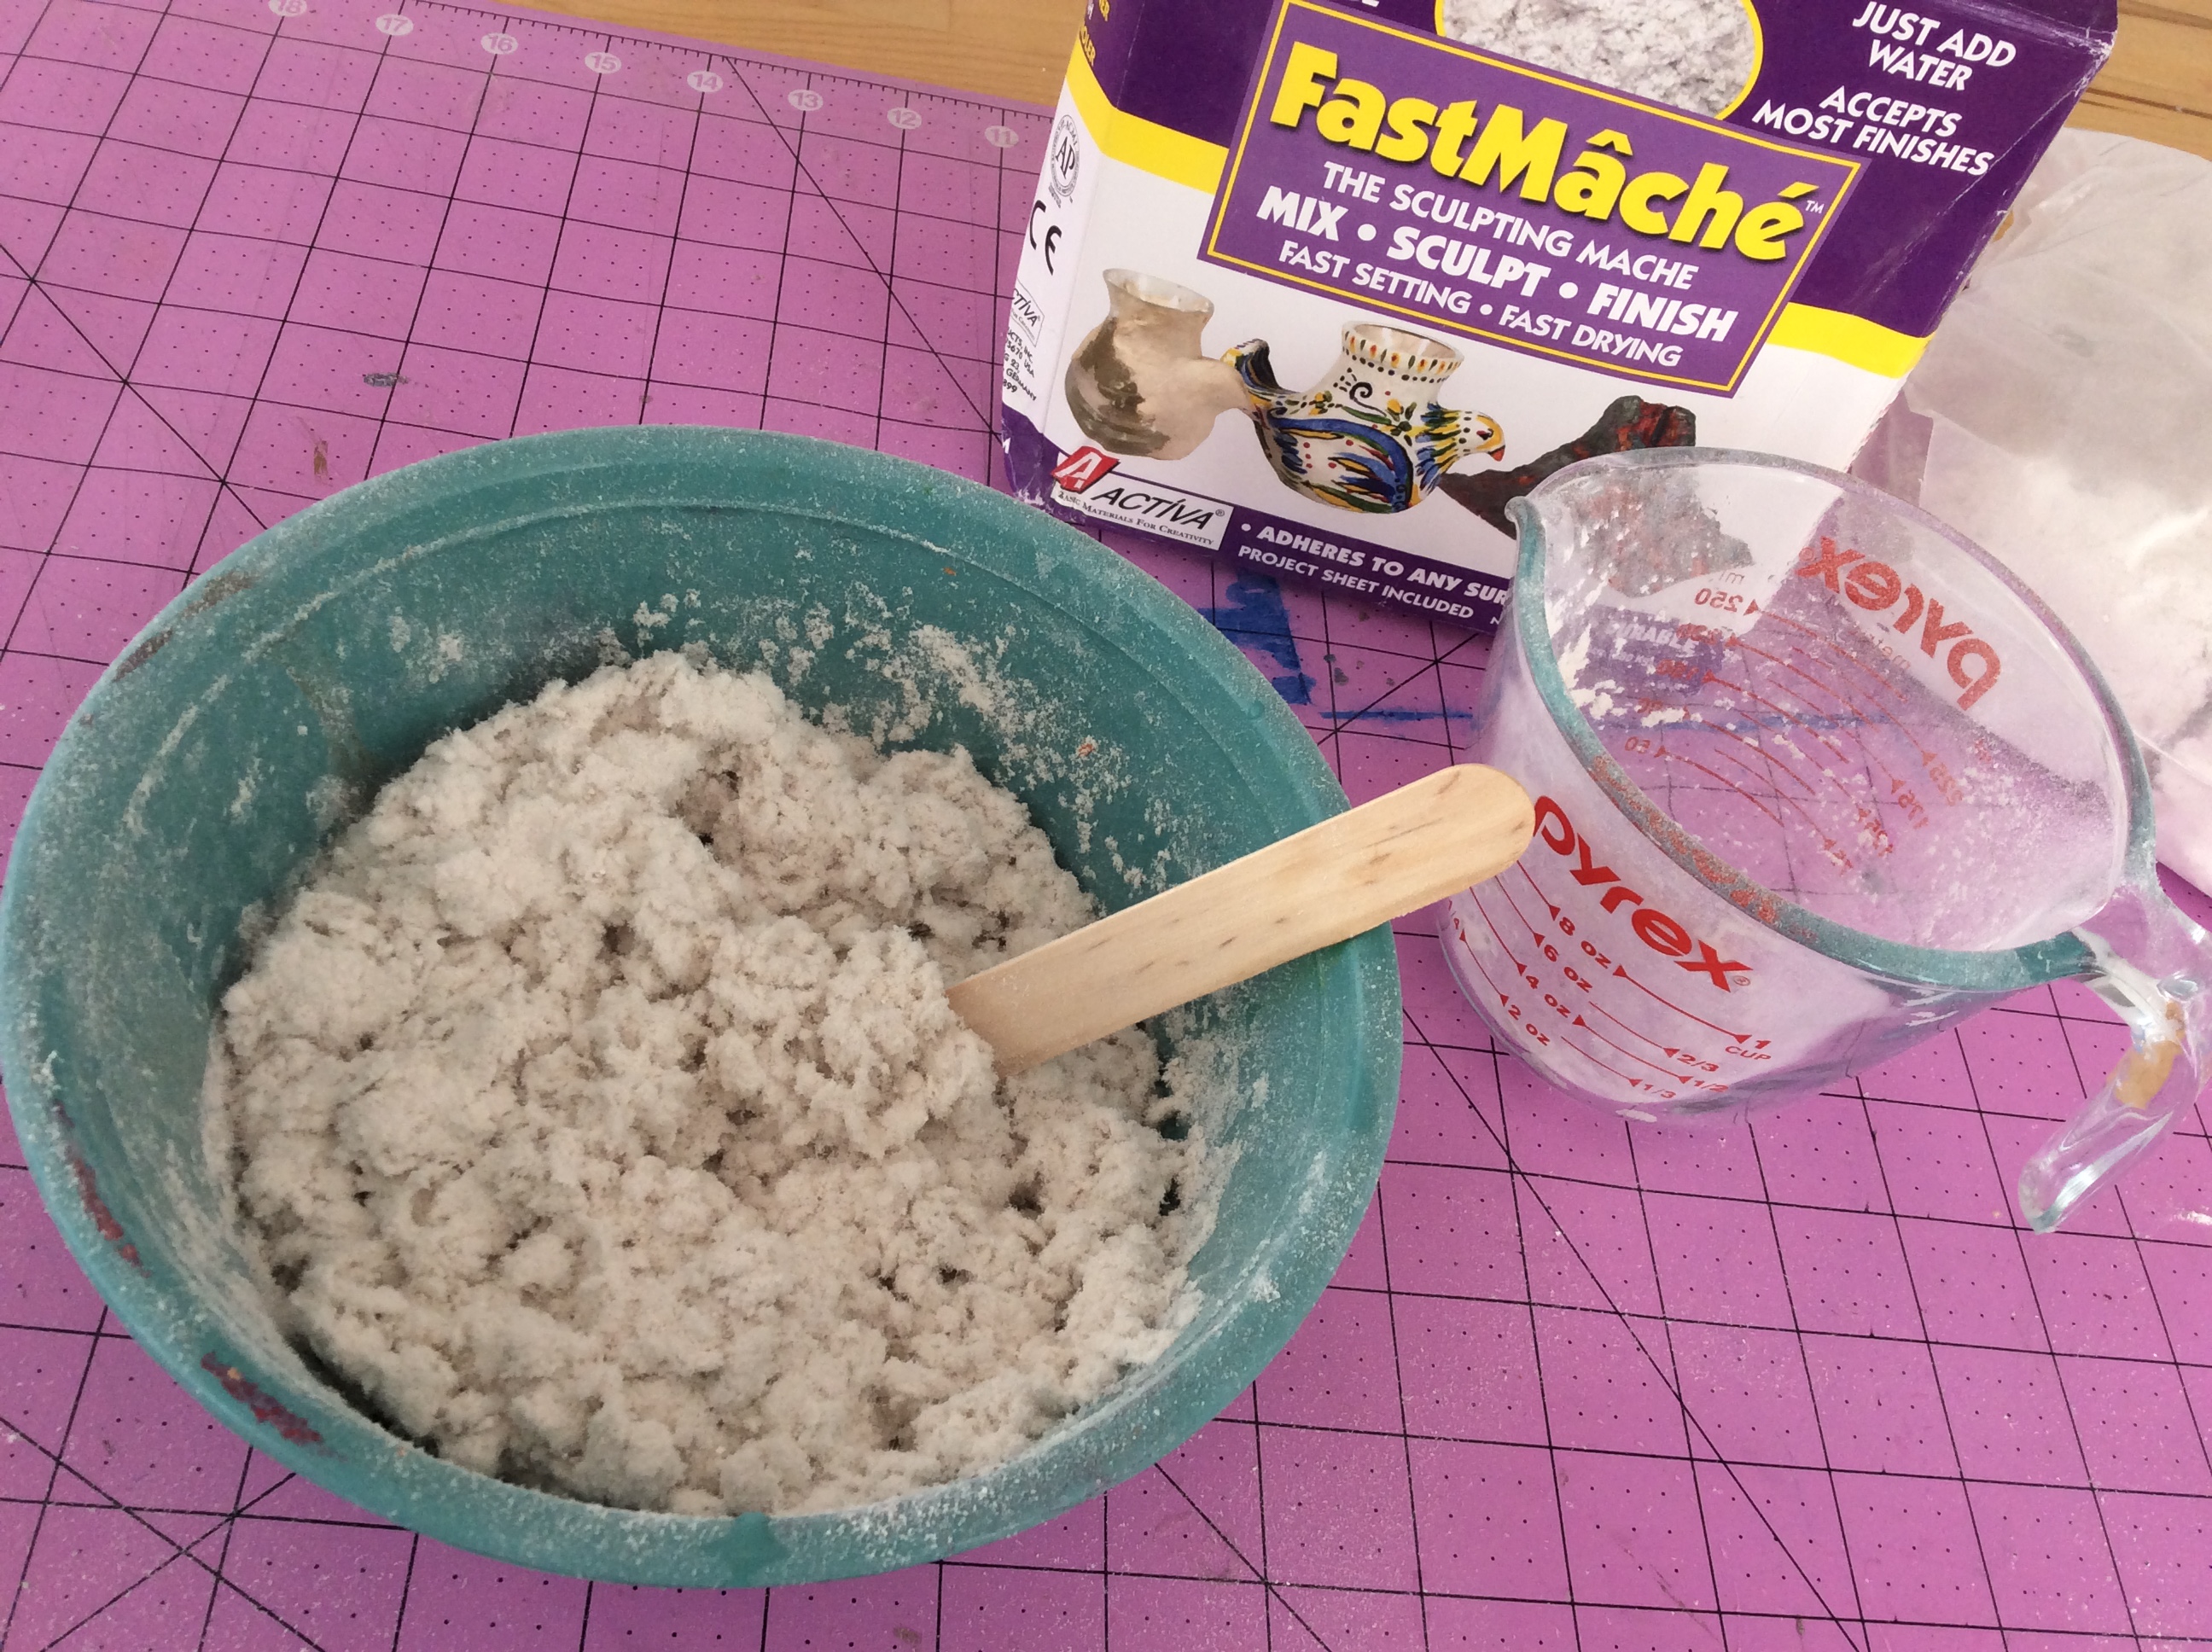
Add in two cups of the dry FastMache.
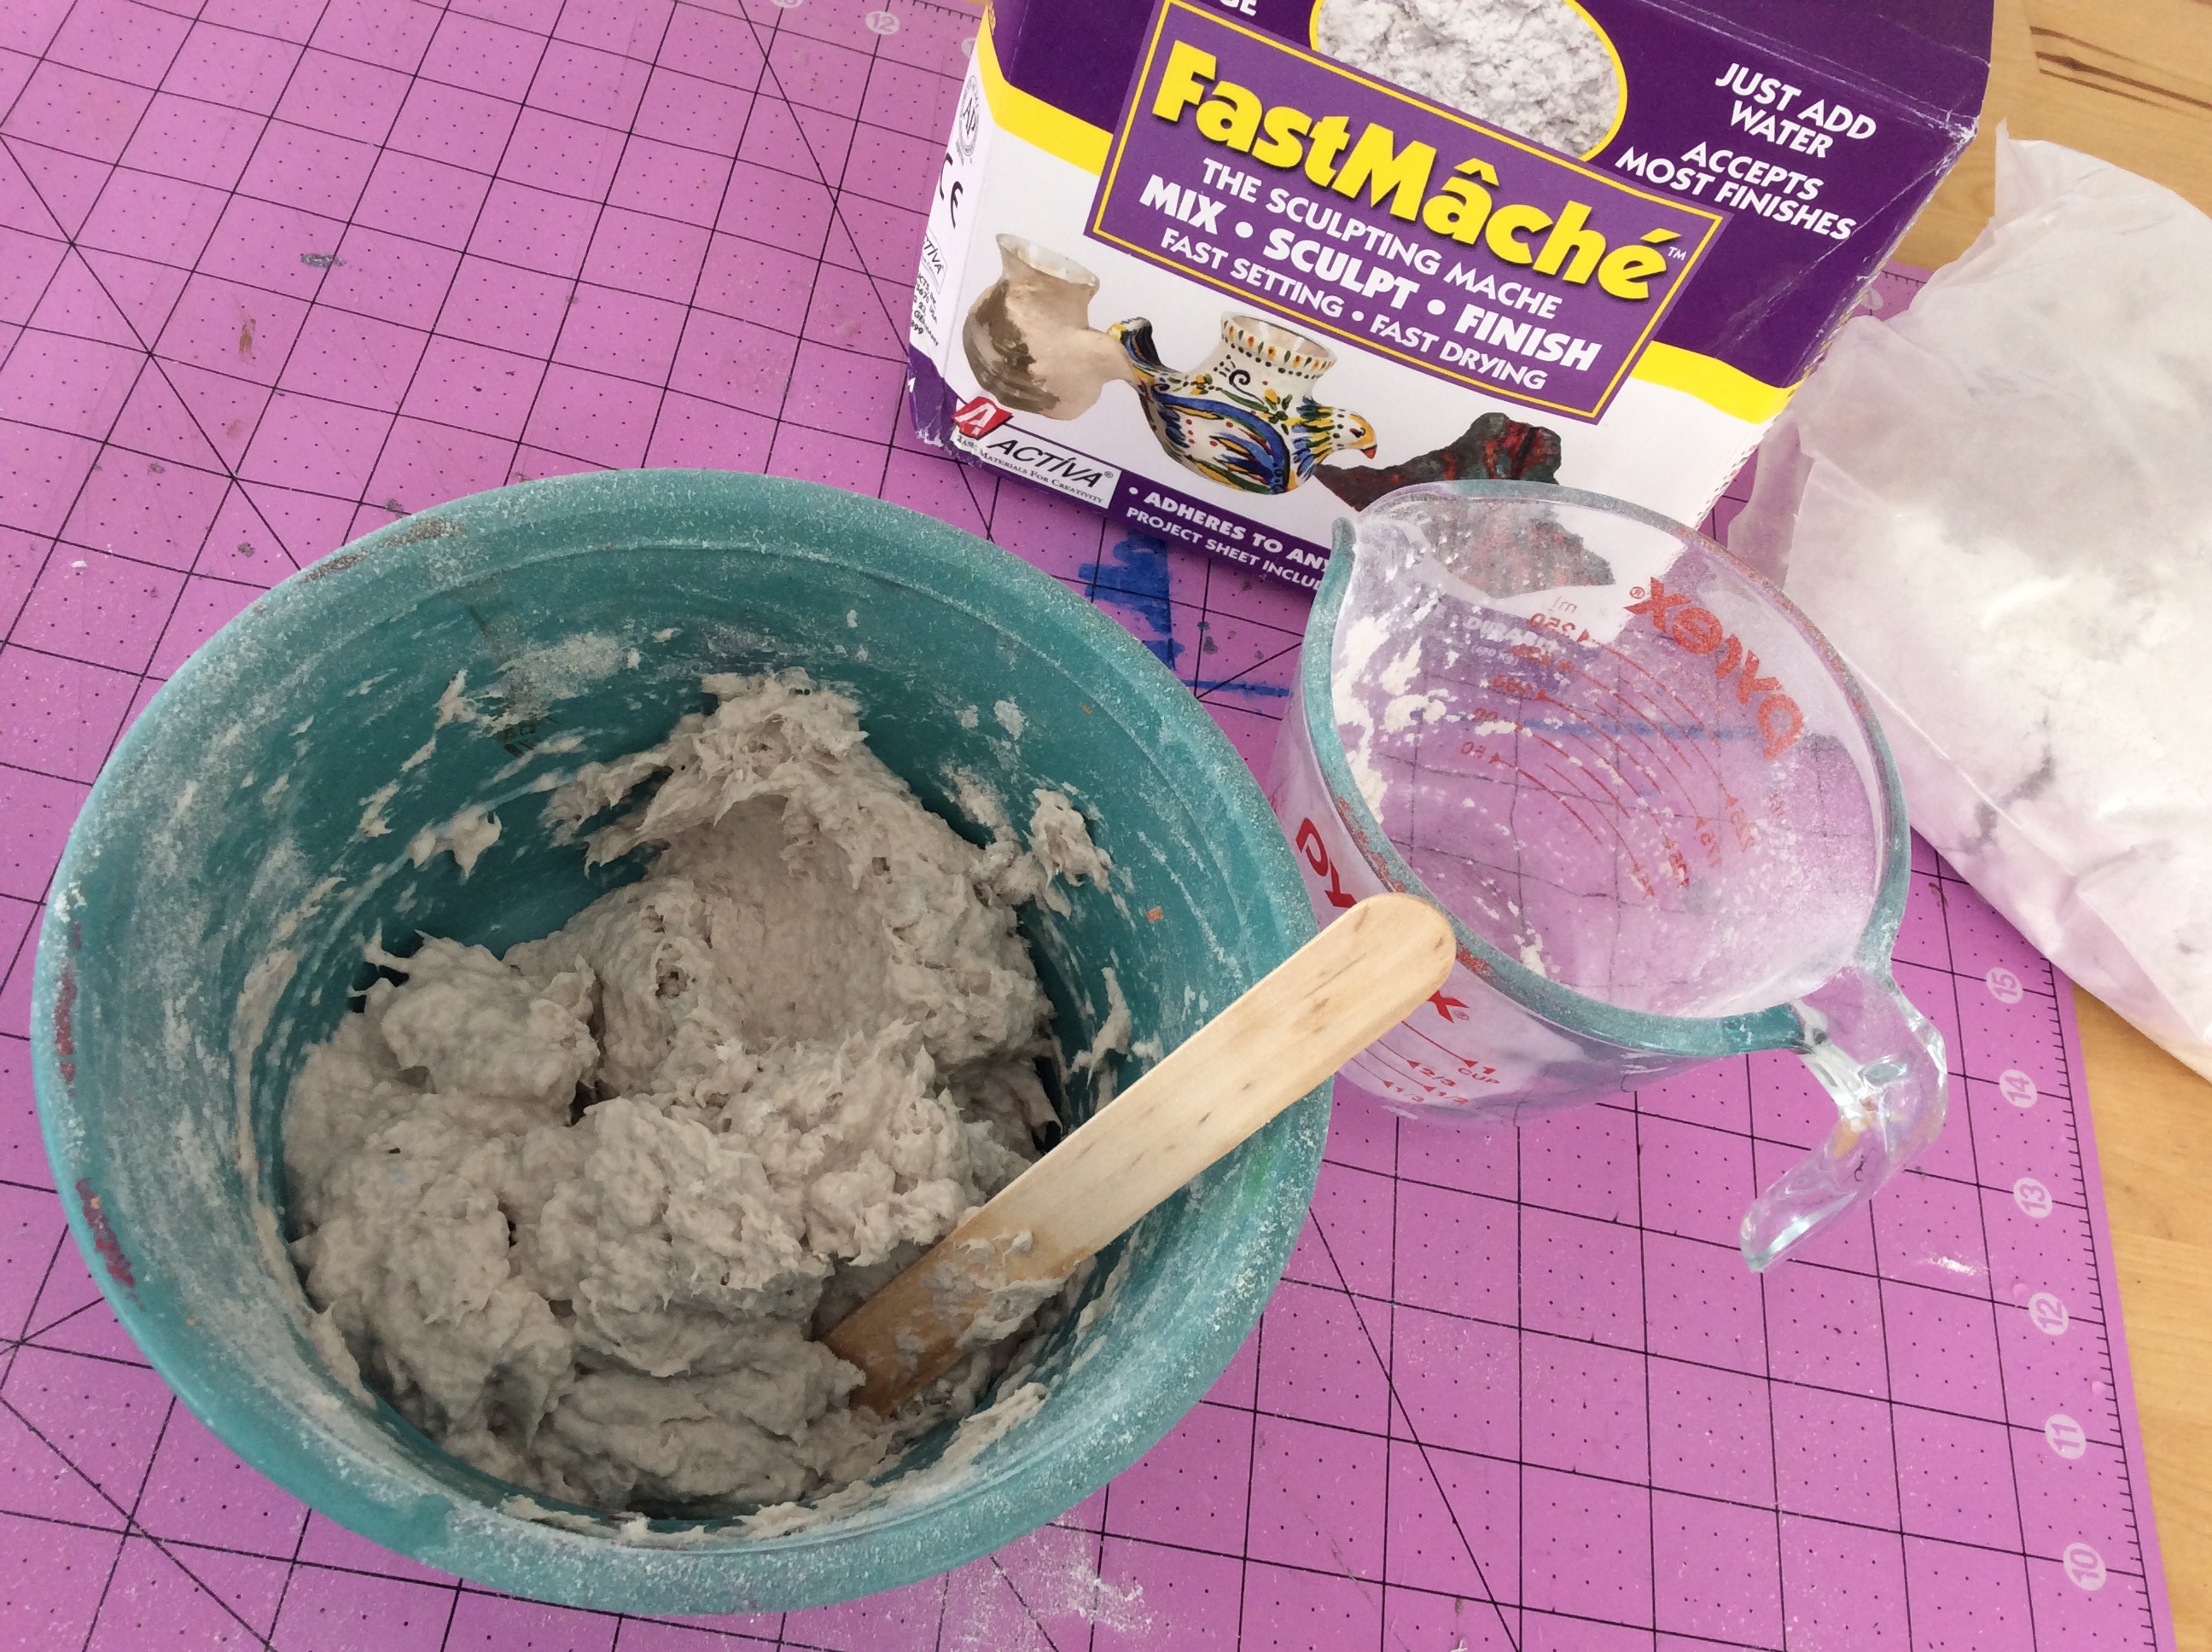
Stir with a popsicle stick until you have a thick paste.
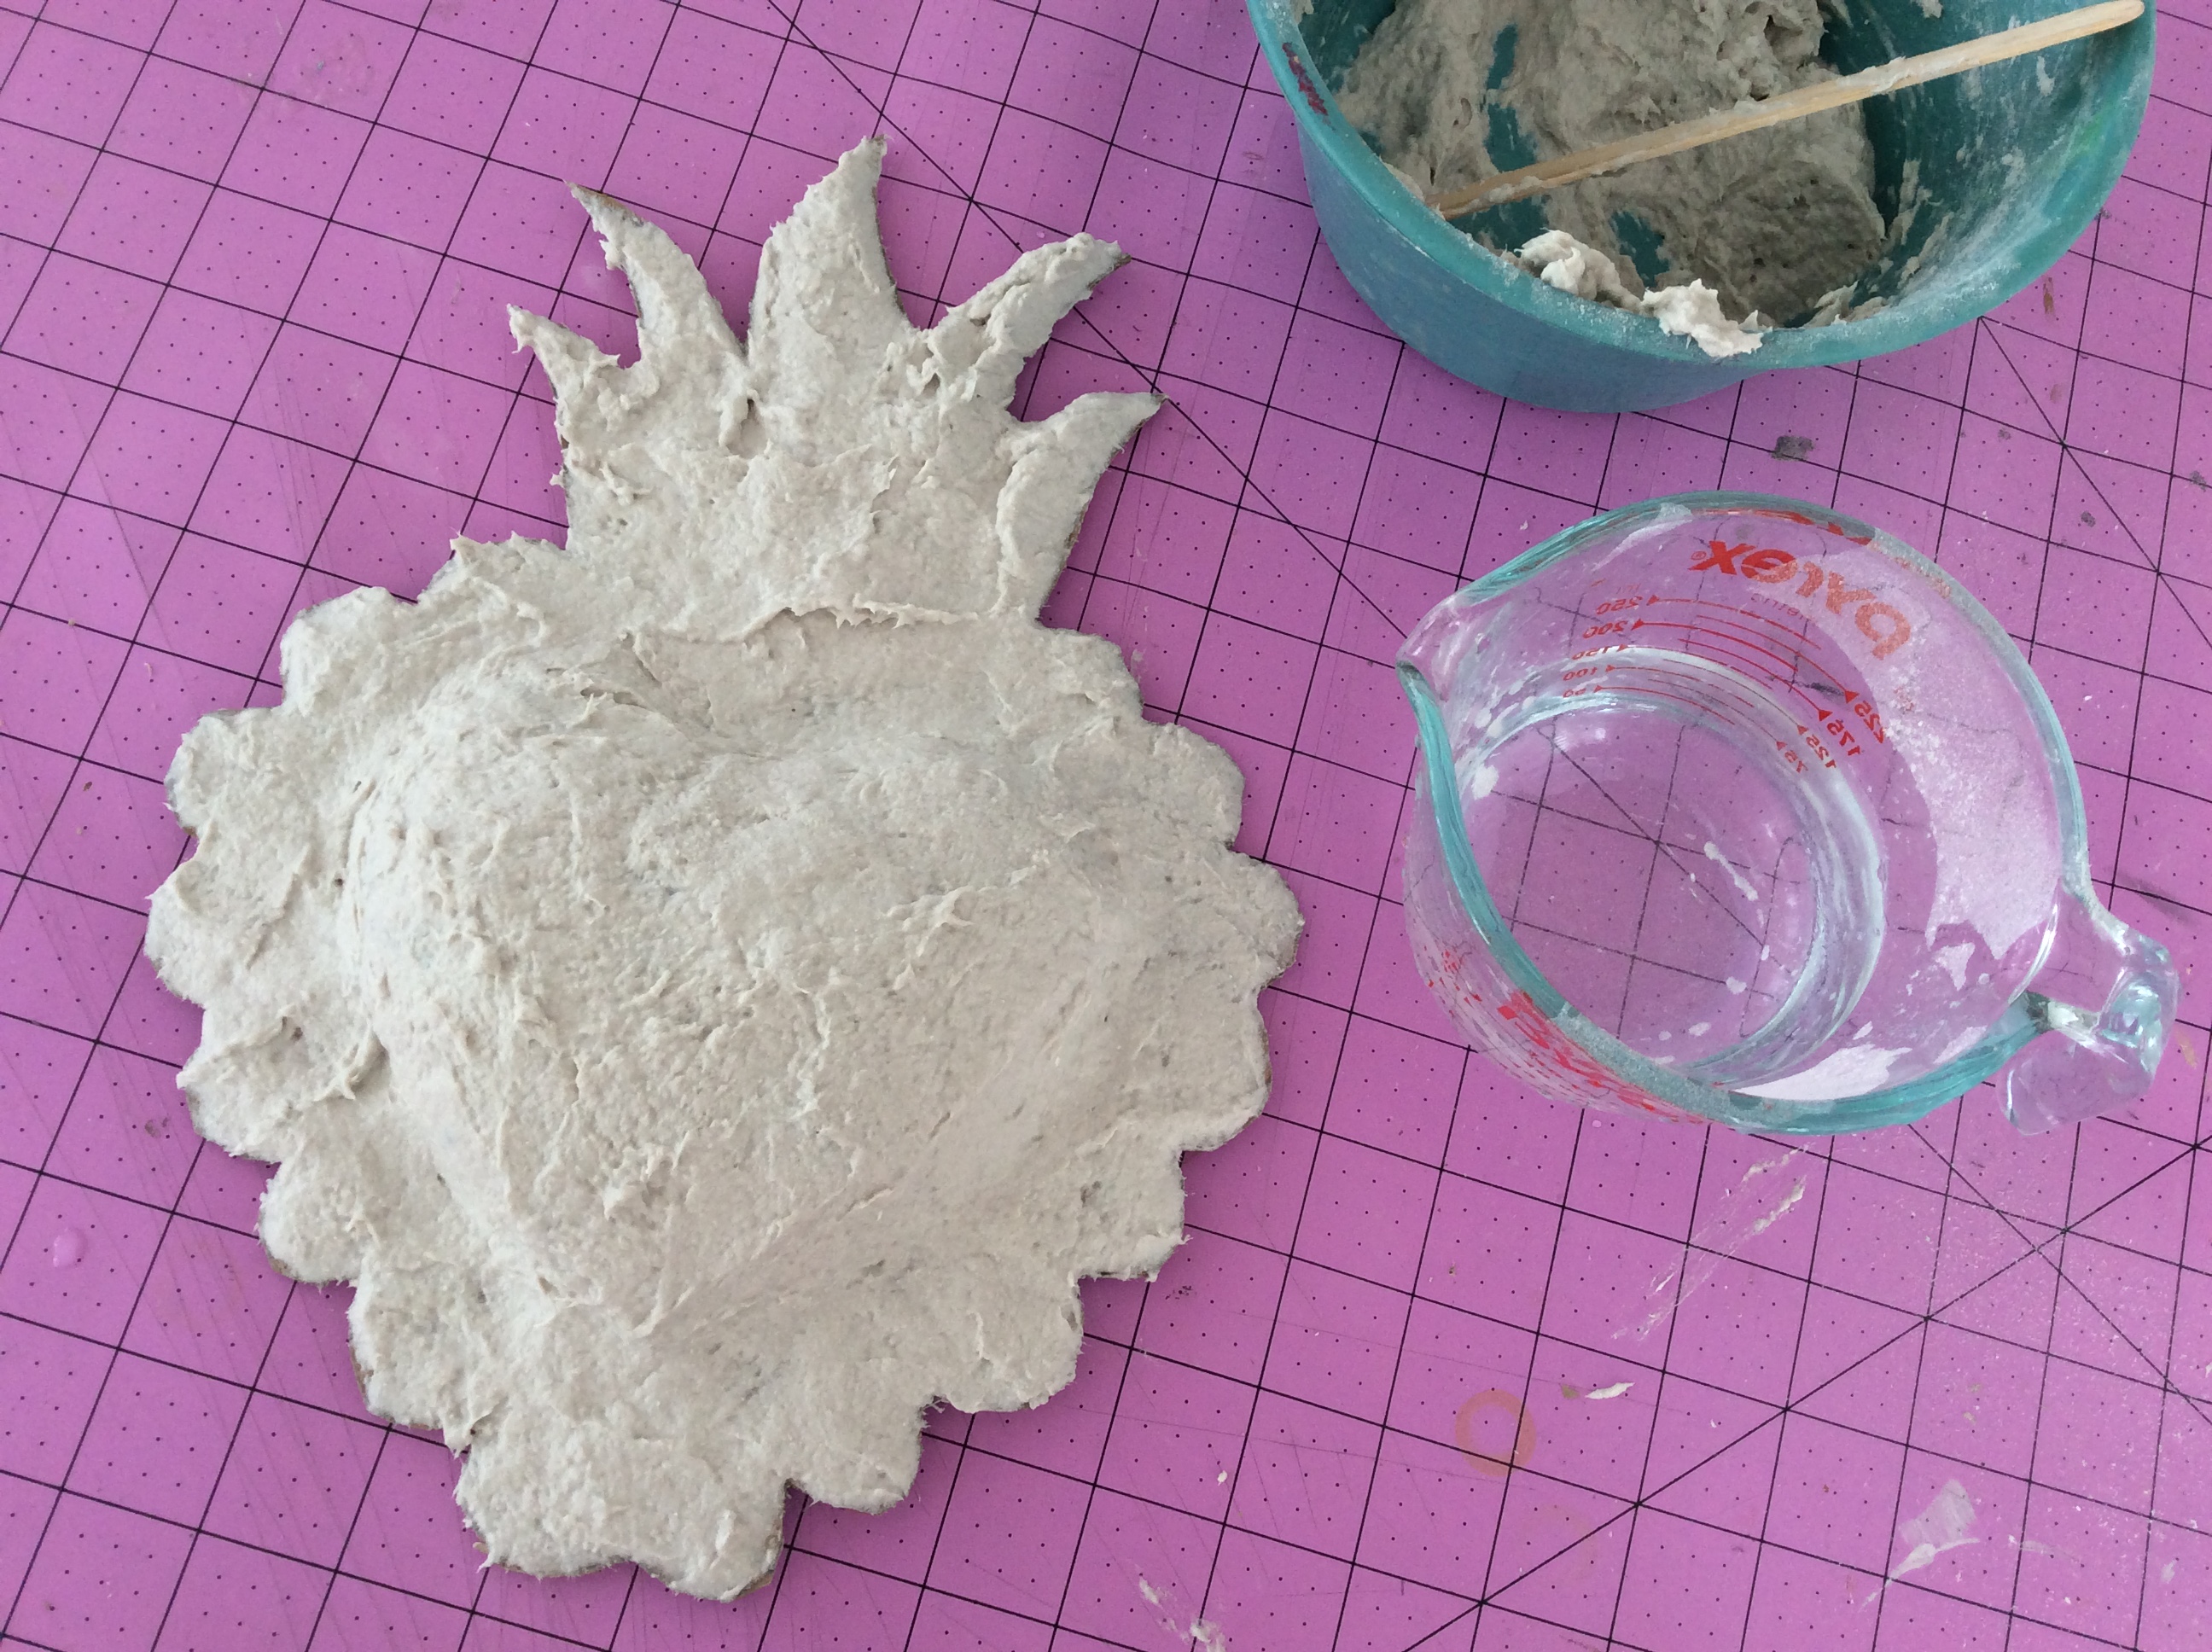
Apply the FastMache to the front of your piece with the popsicle stick, smoothing each surface as you go.
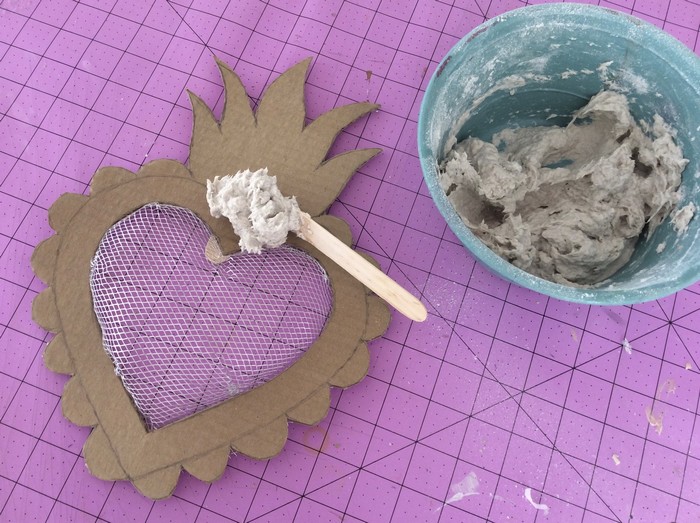
Contine working until you have covered the entire front with a nice even coating.
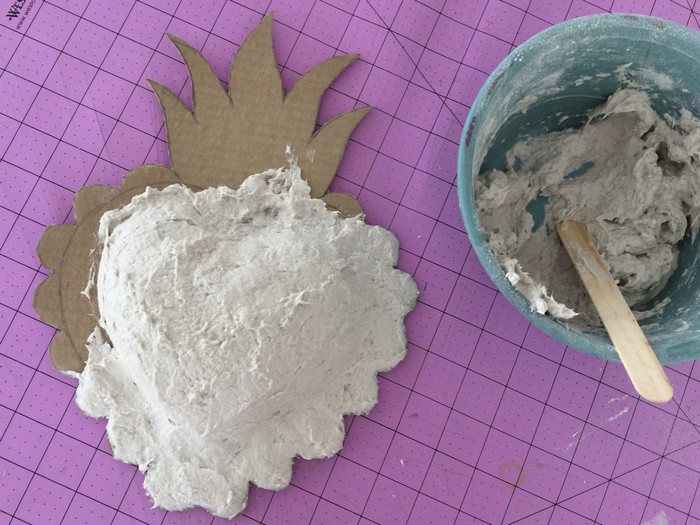
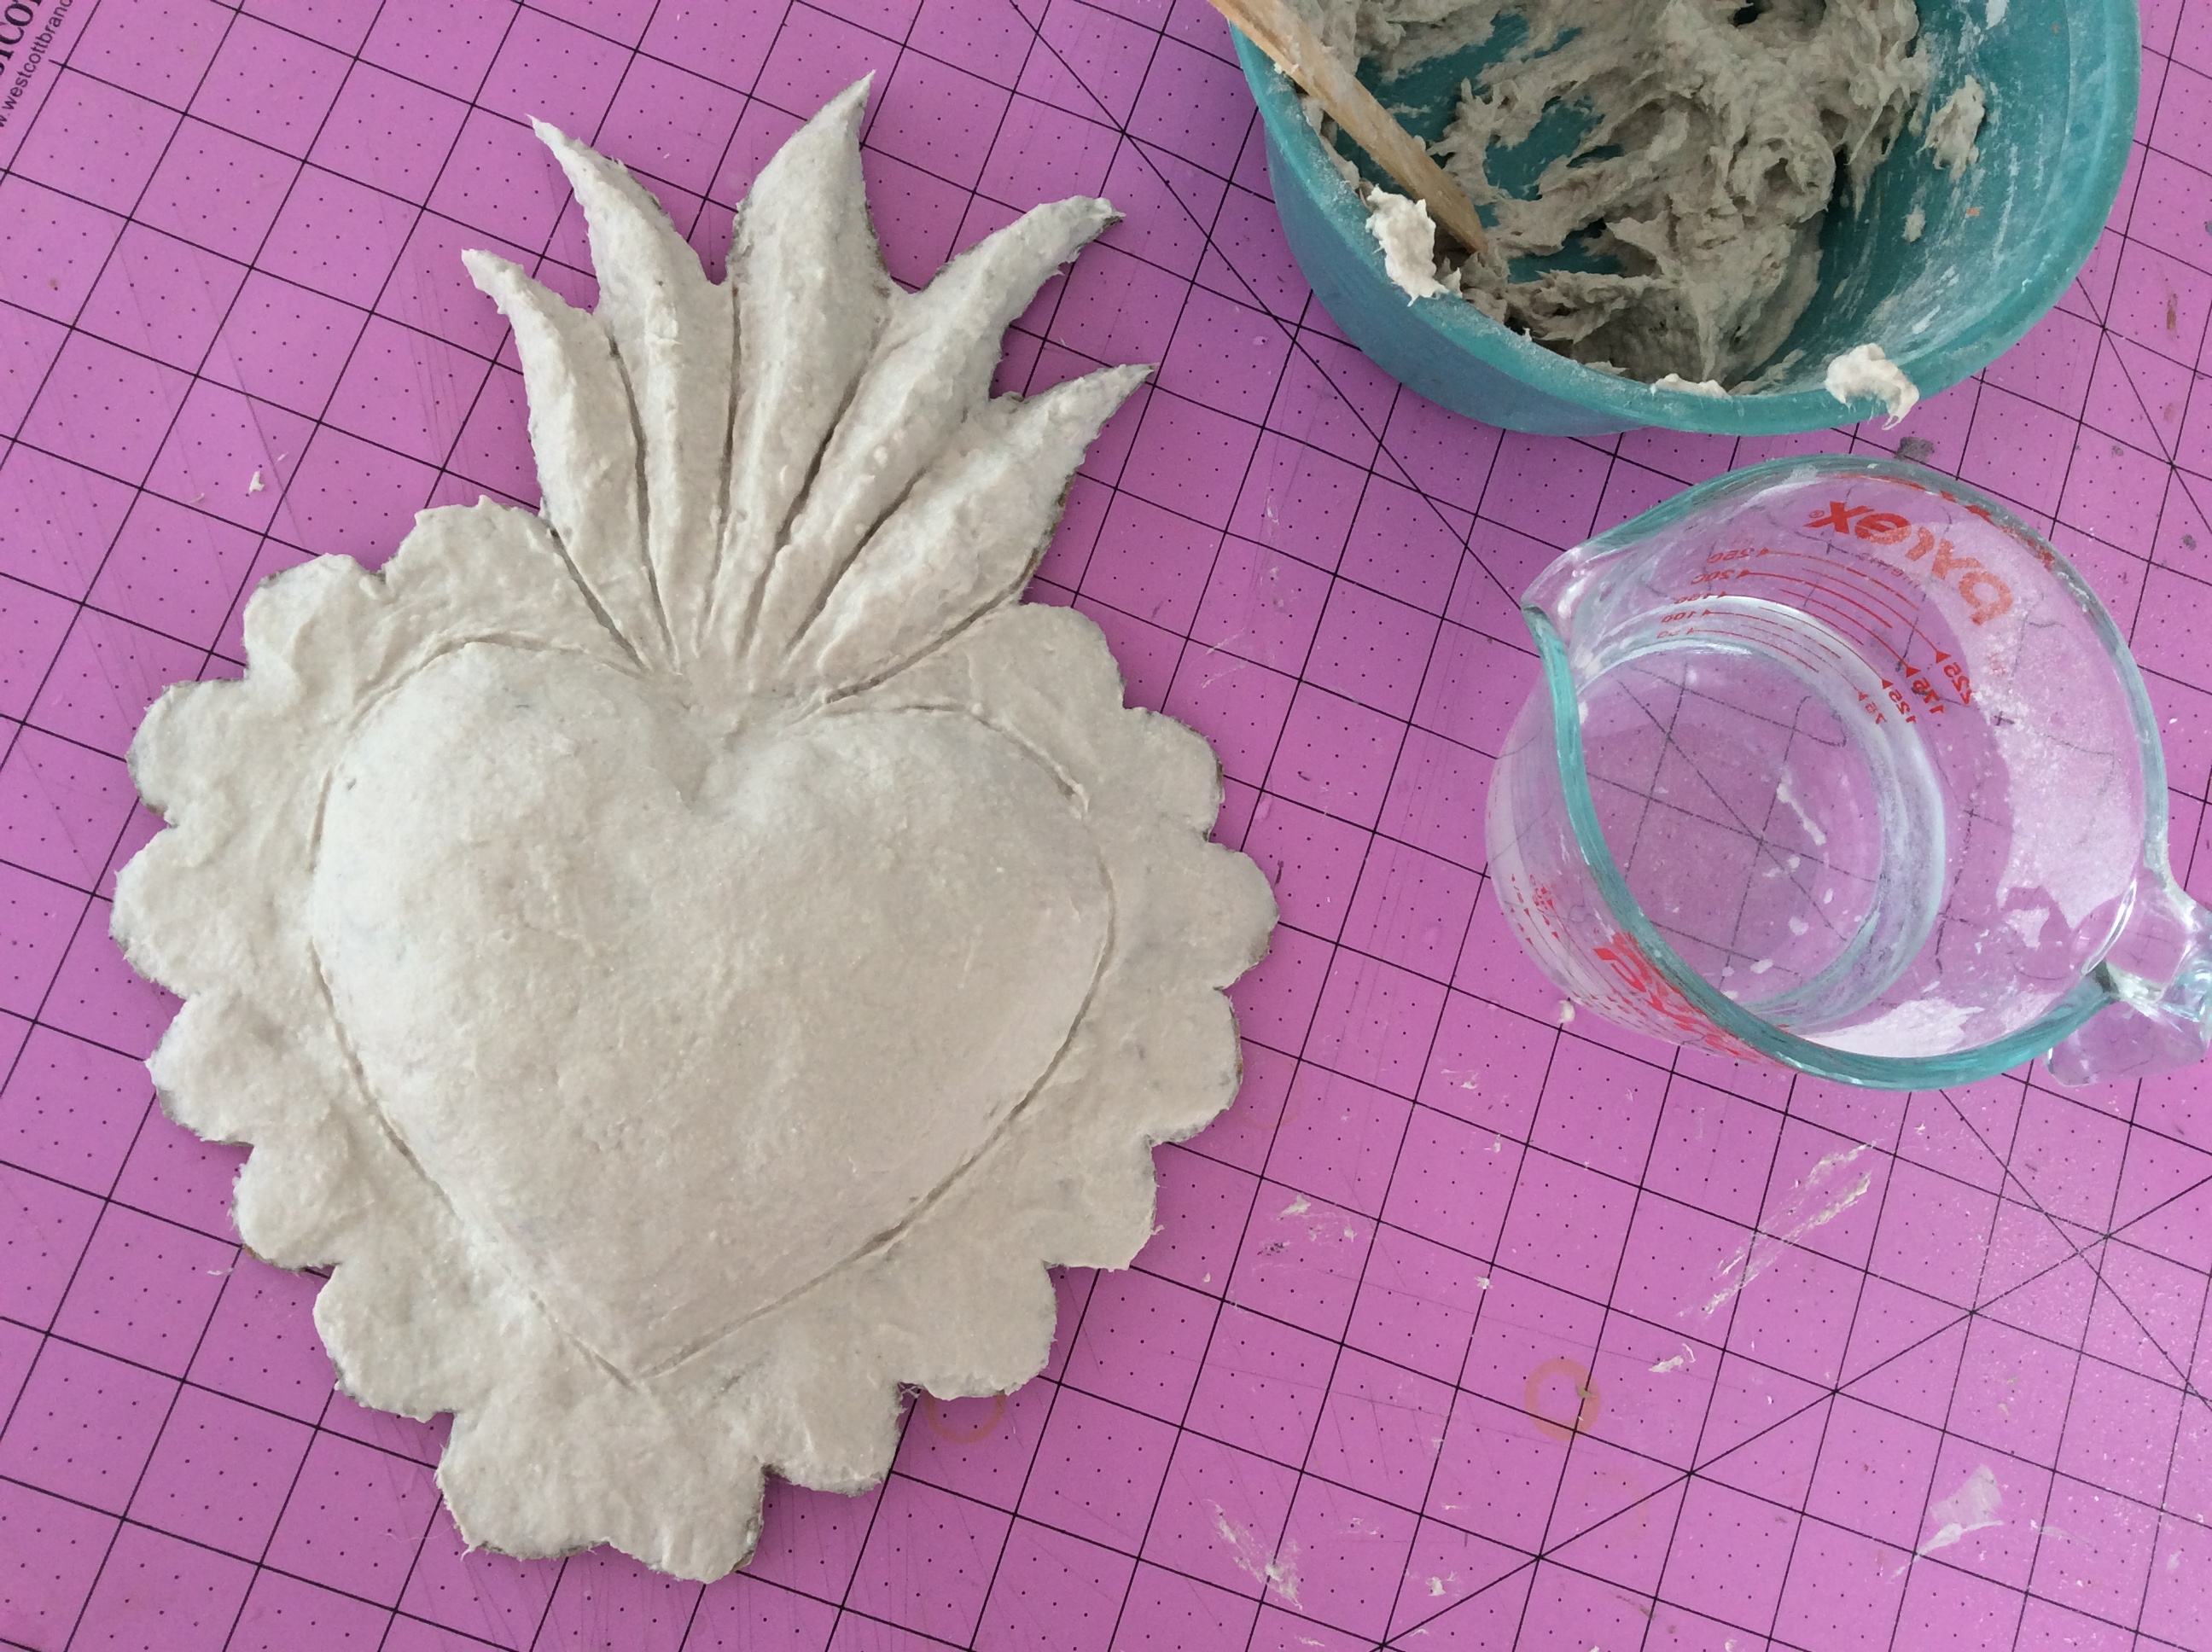
Then moisten your fingertips with warm water and smooth out the details of your design. For this design we added ridges to the flames and traced a line around the heart and ridges. Feel free to make it as detailed as you like.
Set the piece aside until fully dried.

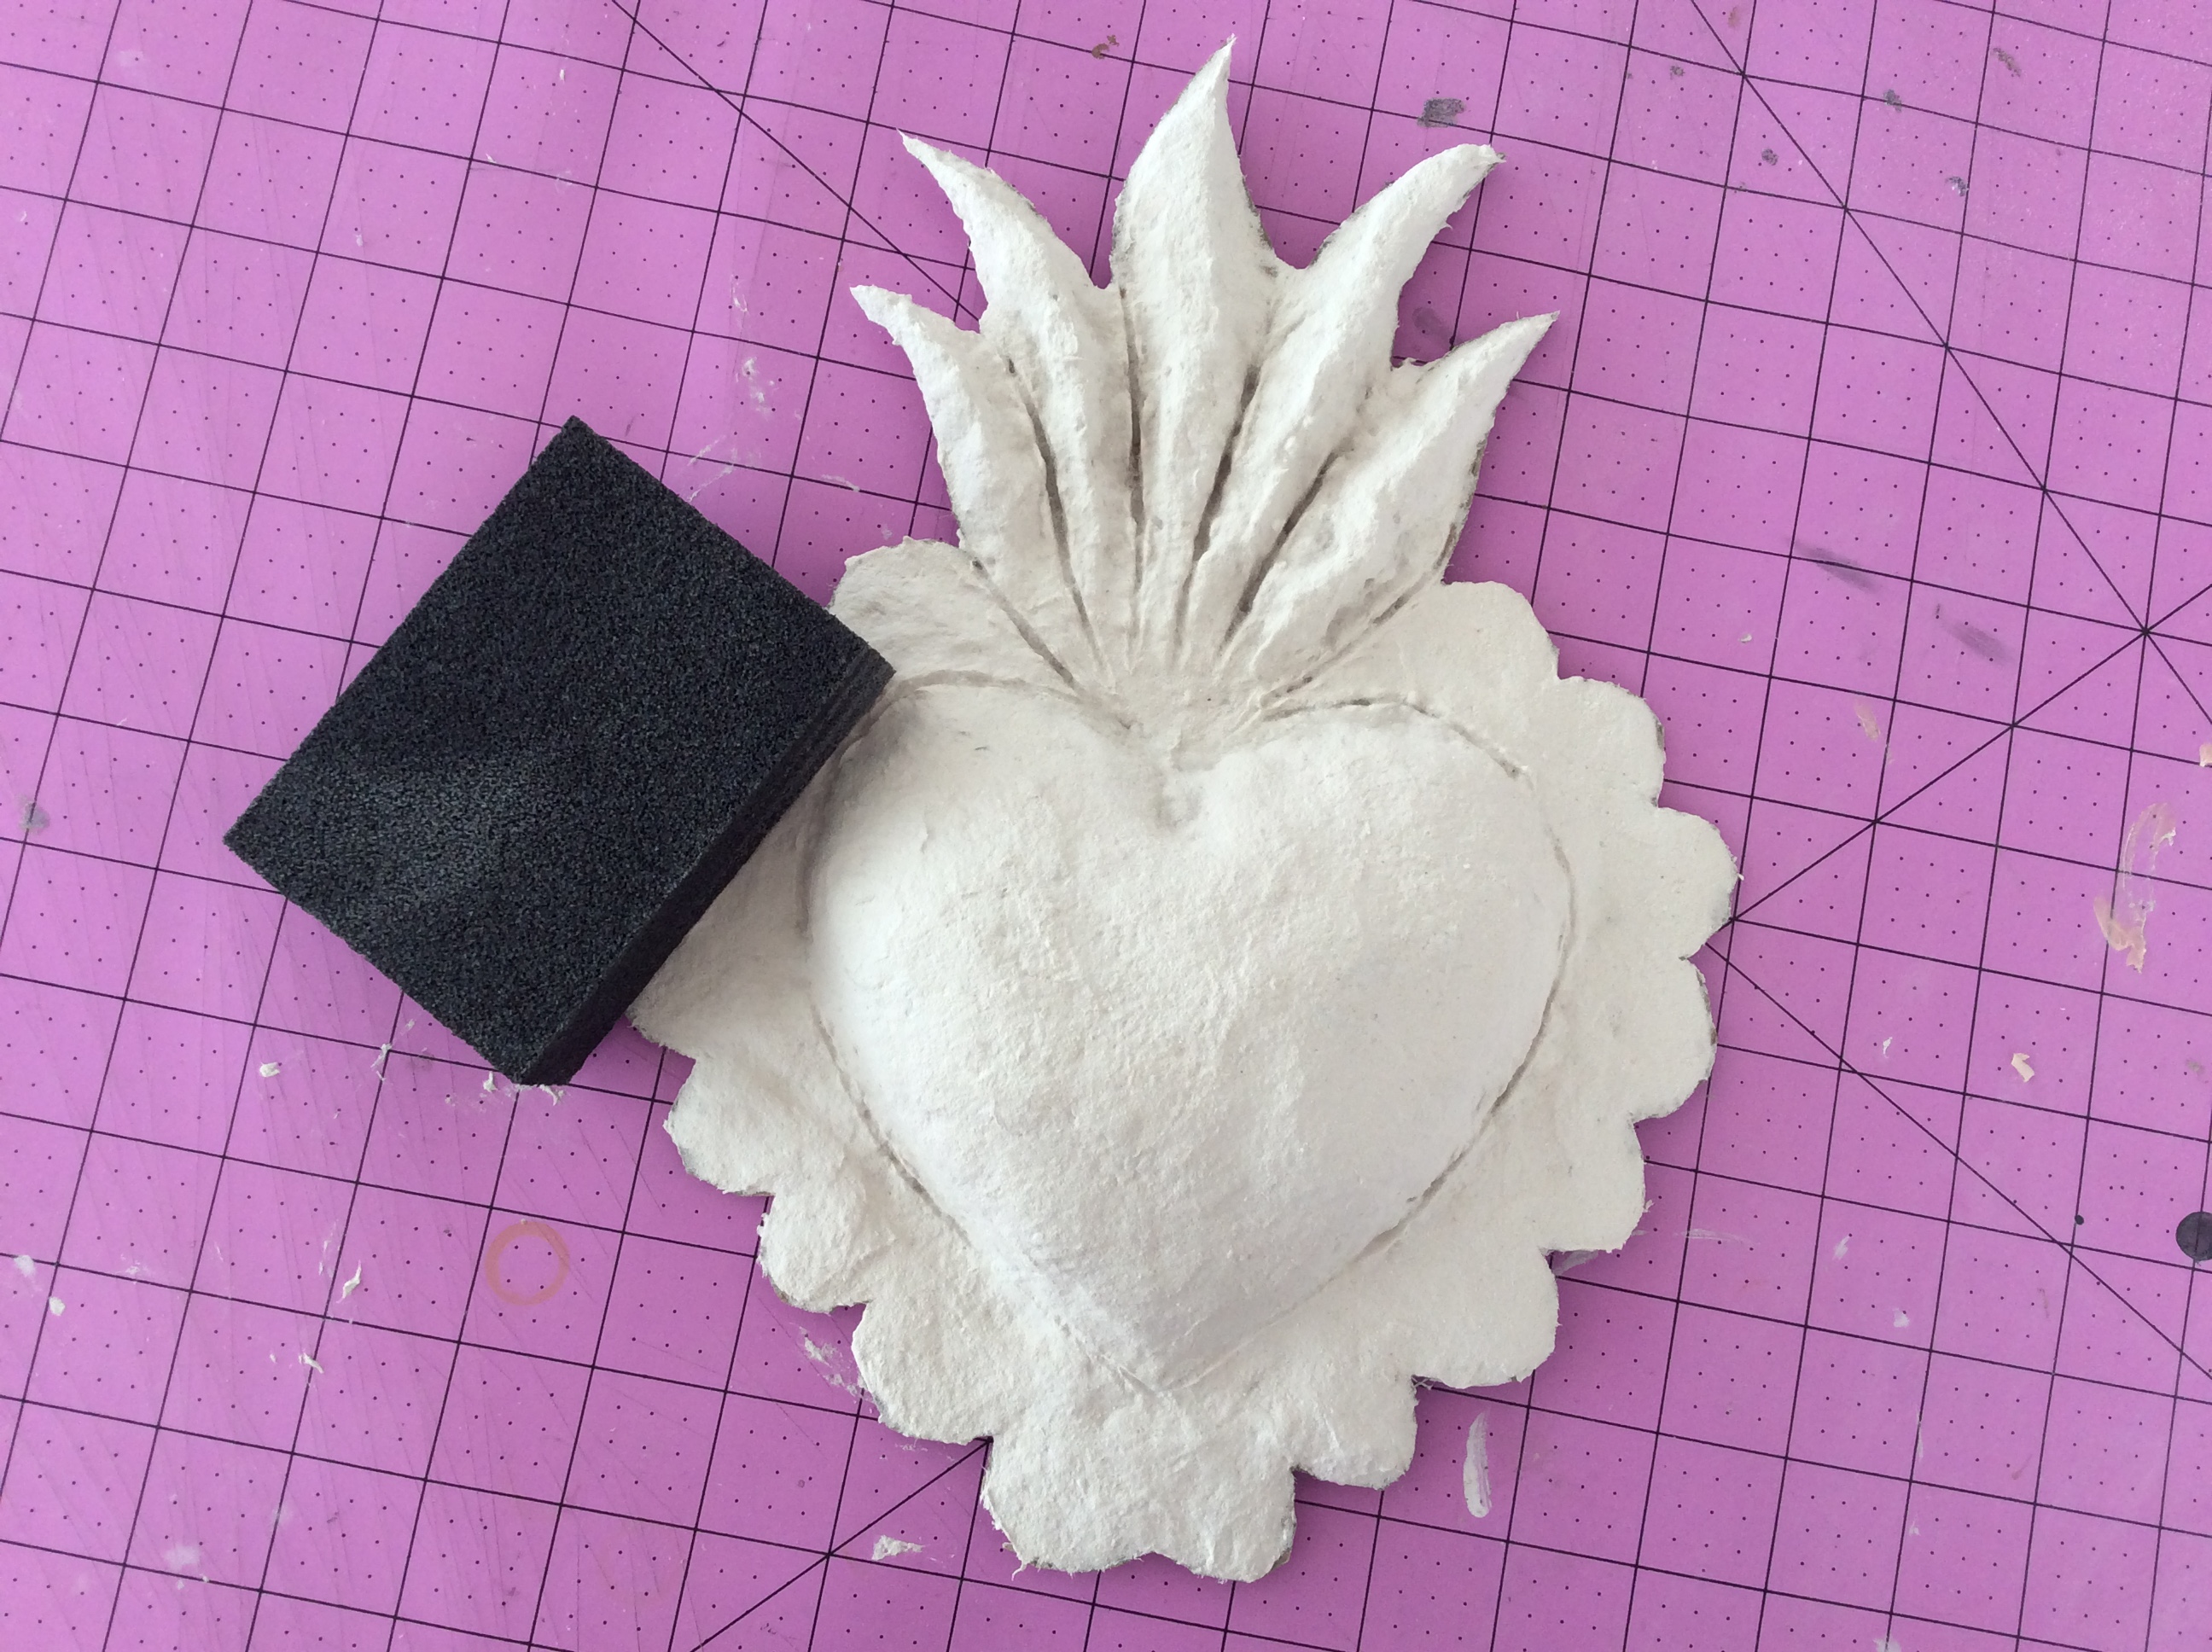
Once dry, you can use a sanding block to slough off any rough spots.
Now you are ready to begin painting your creation!

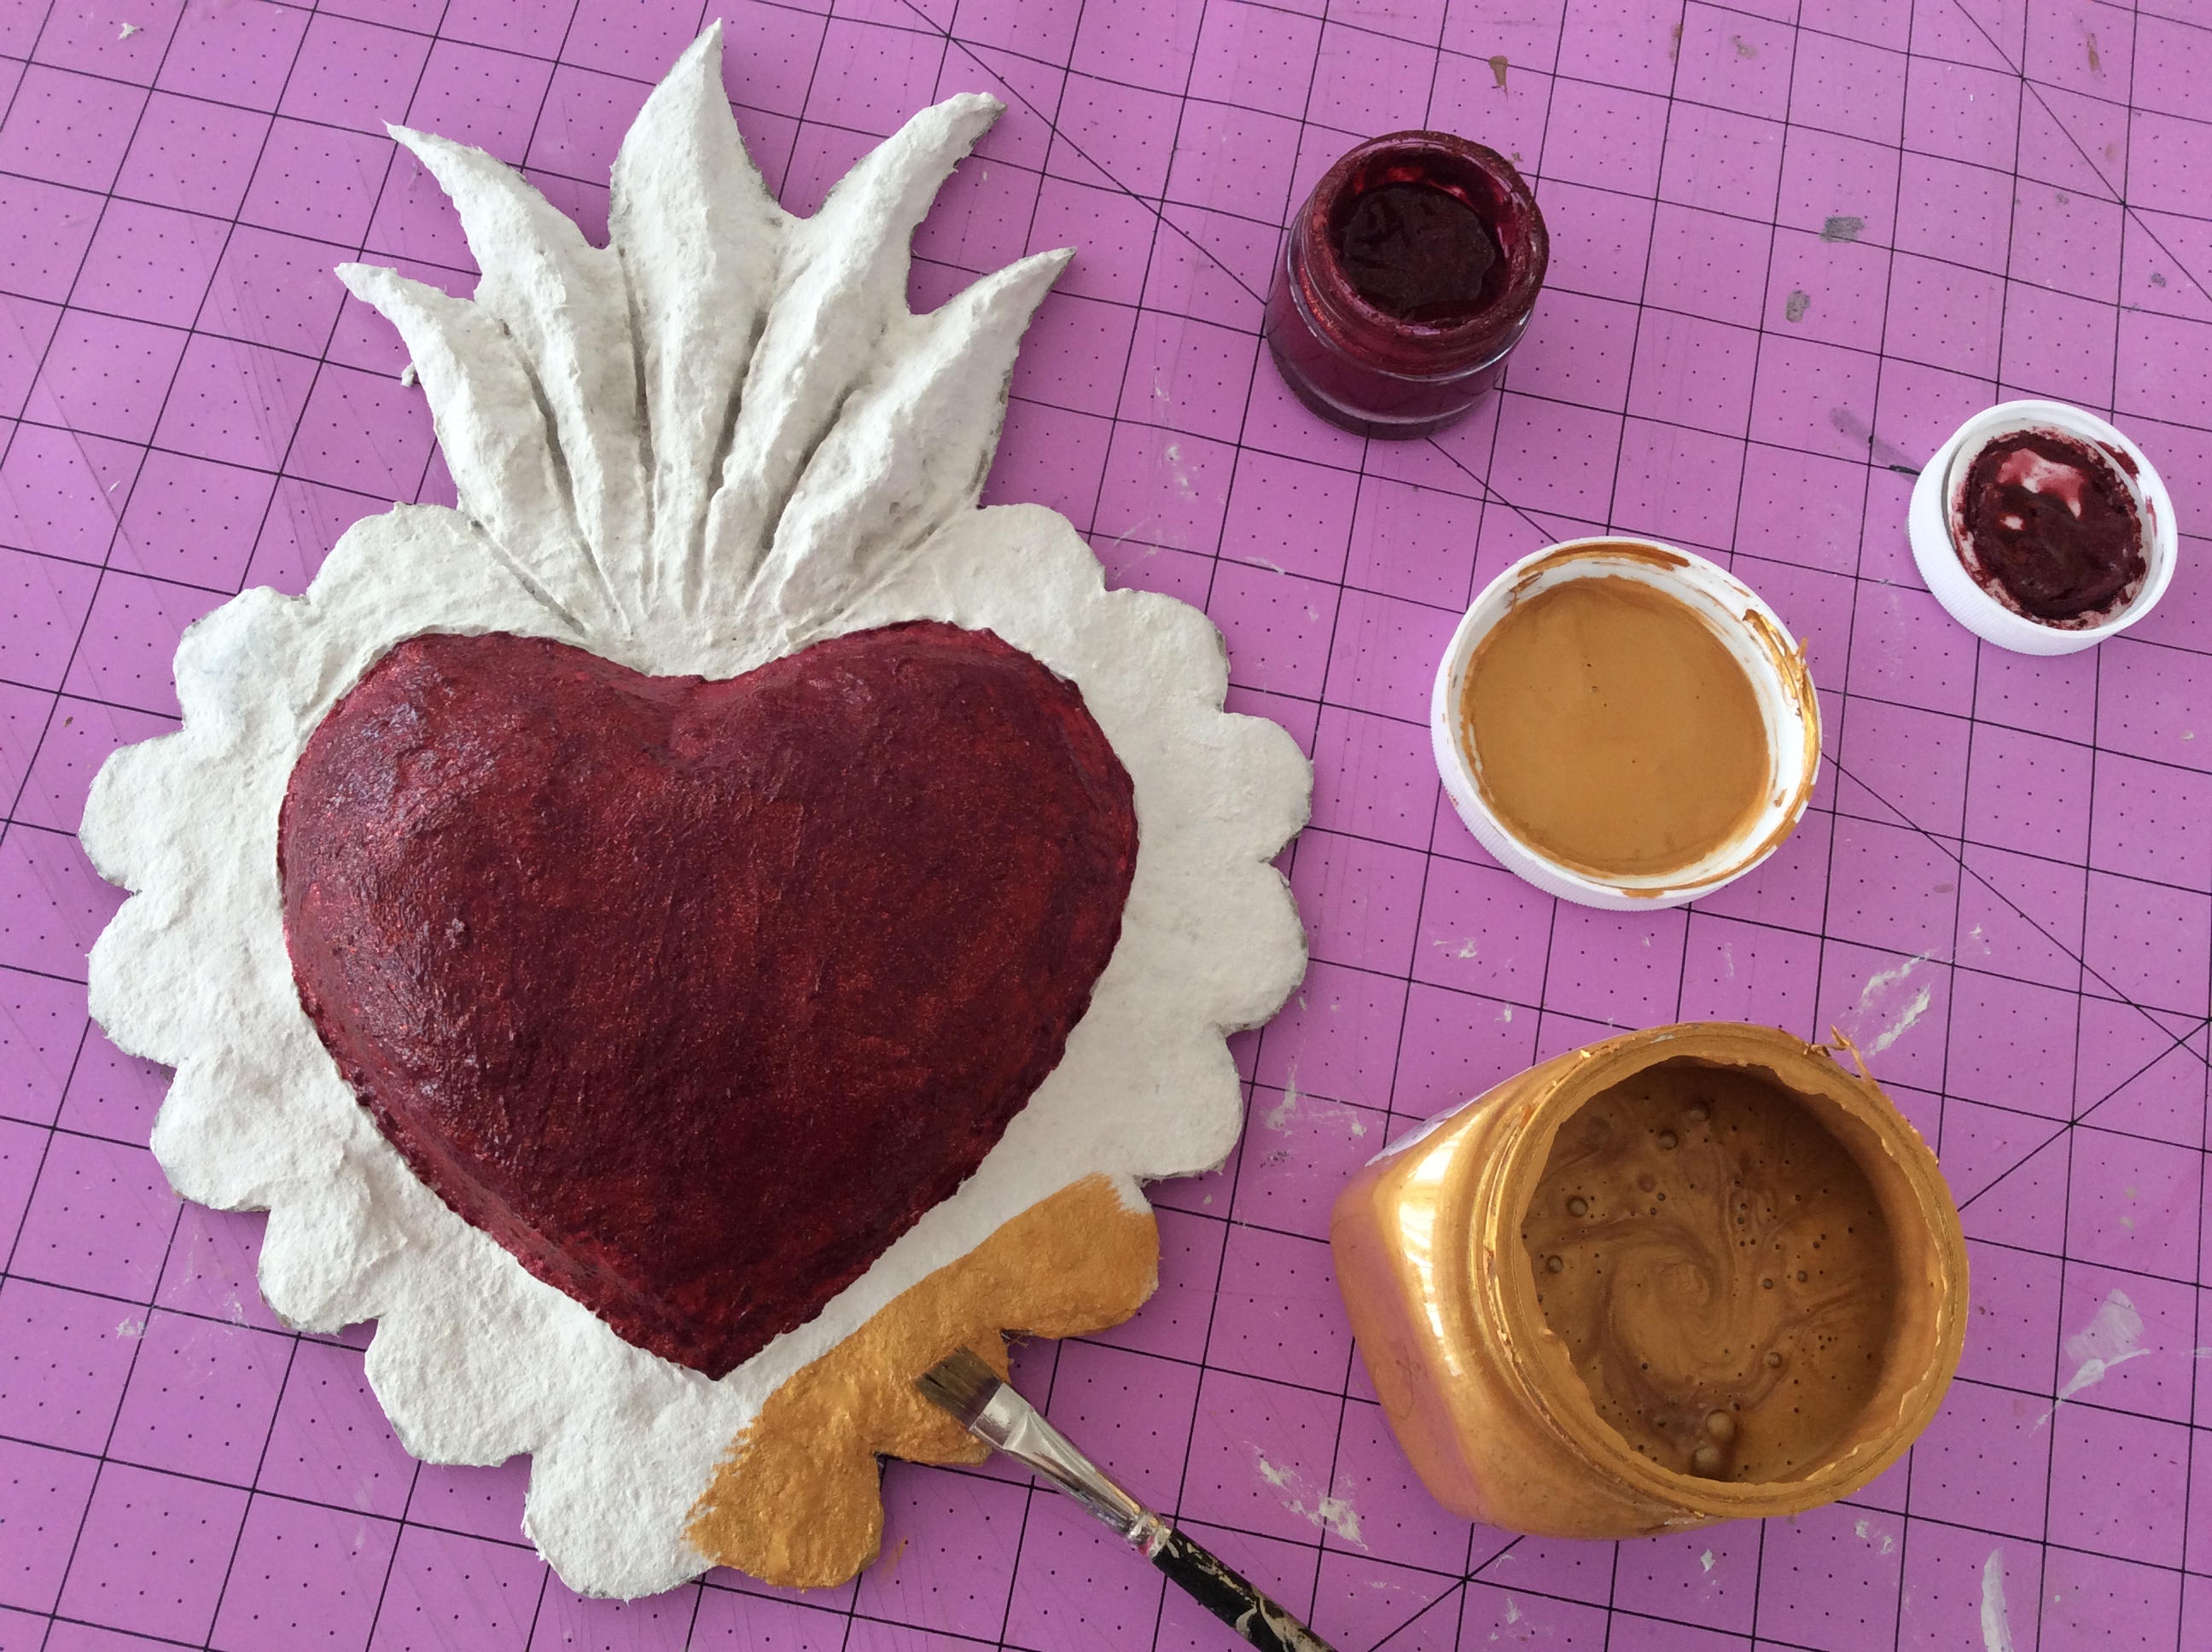
For this design we used a glossy and glittery paint for the center heart.
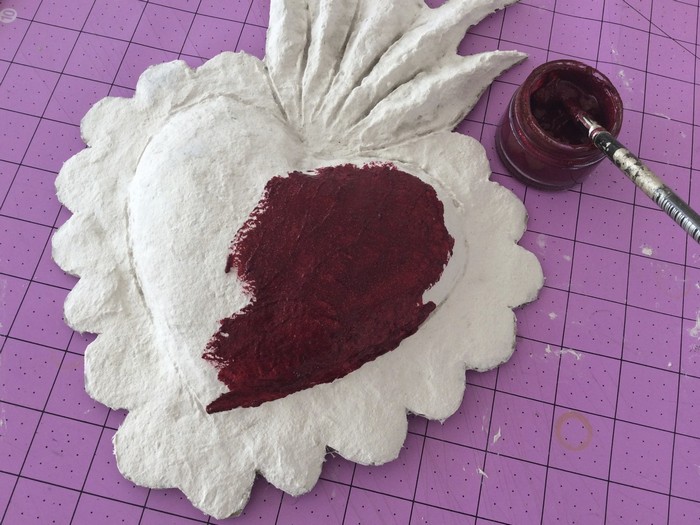
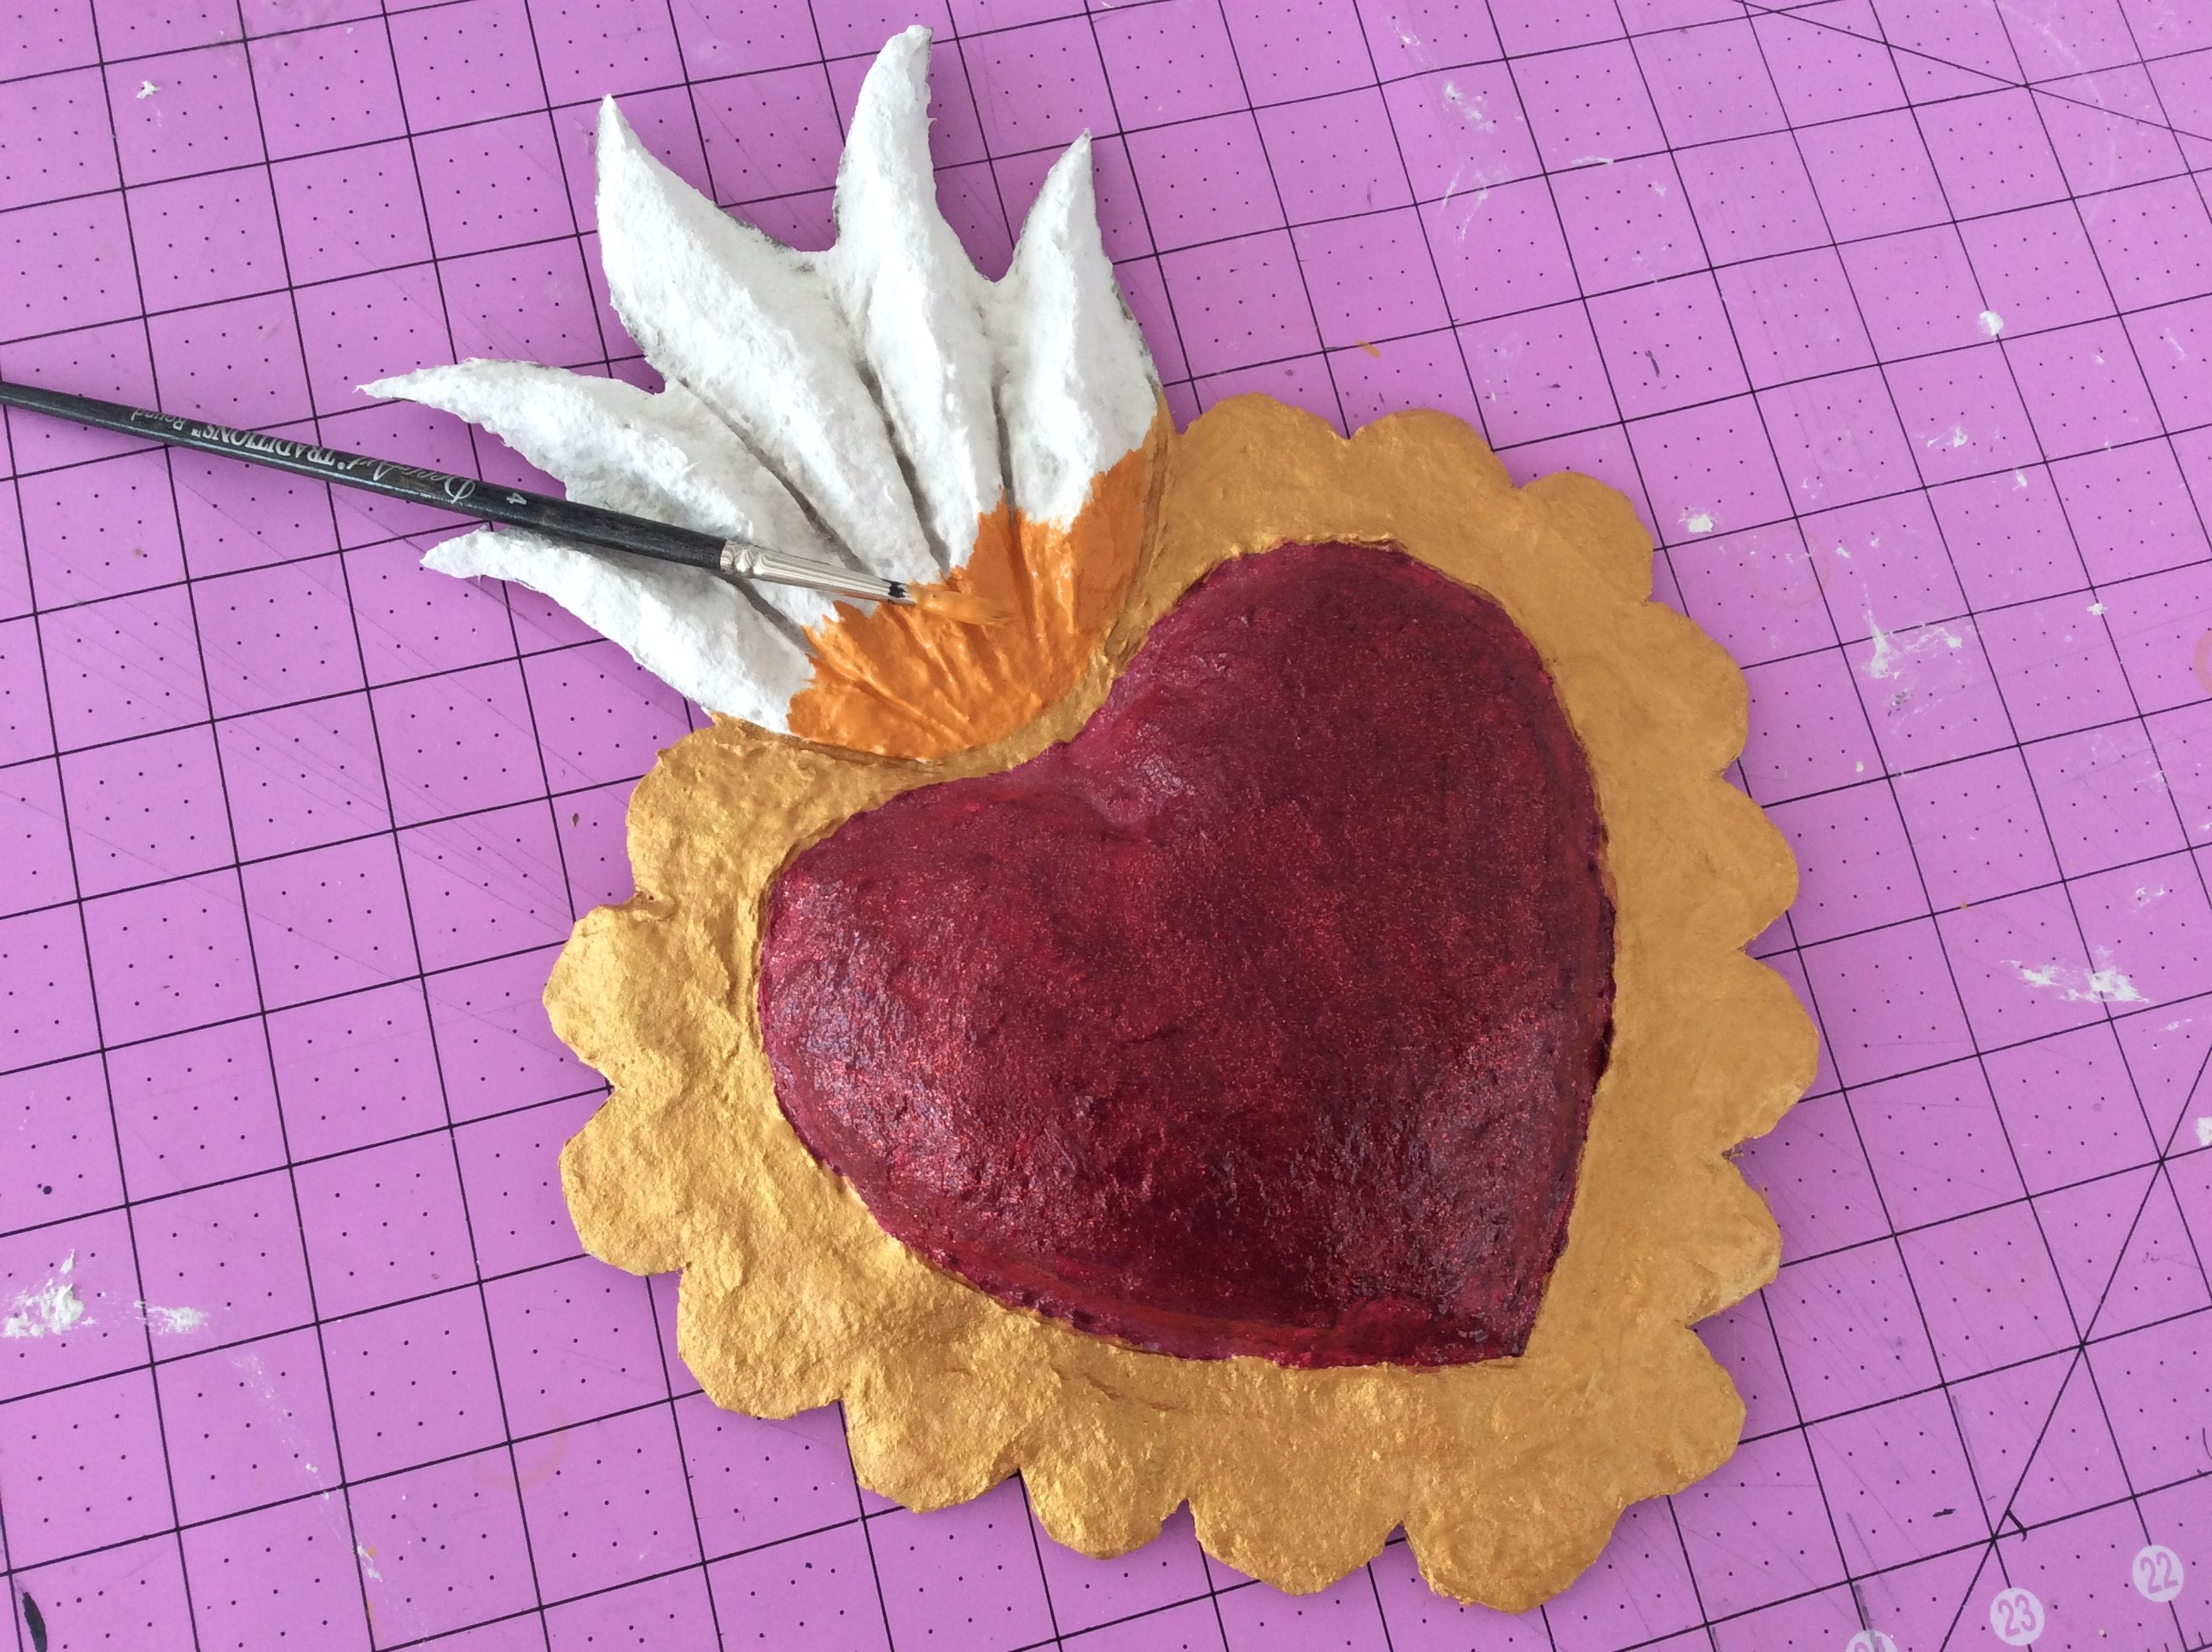
Then we added in bright shiny gold paint for the scalloped border.
For the flames we used orange, gold and yellow paint to create a realistic burning effect.
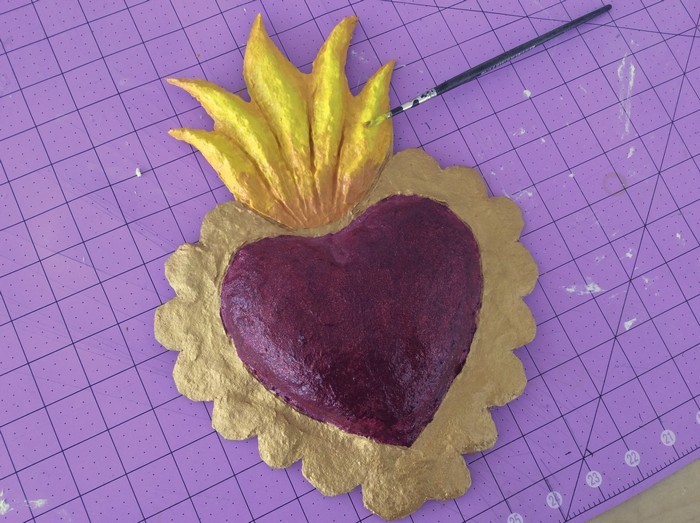
Then we used a dry brush technique with some dark brown paint to antique the scalloped border.

To make this piece really shine, we finished it off with a layer of bright red glitter applied on top of a layer of school glue. You can recreate this piece in the colors and shape we’ve shown, or feel free to mix it up with your own shapes and colors! The creative possibilities are truly endless!

- ABOUT THE ARTIST -
Meet celebrity crafter Marisa Pawelko, winner of the Craft & Hobby Association Indie Craft Contest and the host of “America’s Next Top Crafter™”. Armed with a formal education in furniture design, Marisa used her talents to design products for the gift, toy, fashion and accessories markets before turning her focus to the craft industry. In 2005, sparked with an idea to create a recycled baby memento-keeper out of one of her son’s baby food jars, she founded Modern Surrealist LLC, which quickly developed an international following. Marisa enjoys inspiring crafters on her blog with thrifty project ideas for “upcycling” ordinary objects, into extraordinary custom creations! Her work has been featured by PBS, HGTV, Illinois State Museum and in countless exhibitions and high end boutiques around the world. Modern Surrealist LLC has been providing customers around the globe with individualized and fantastical gifts, crafts and accessories since 2004. Featuring eclectic themes that celebrate your individuality with humor and heart!


Comments
Leave A Comment